Google Connect
To use Google as a social login provider, you will need a Client ID and Client Secret from your Google app, then copy these keys into your ReachFive Console settings.
This page explains how to create a Google App and connect it to your ReachFive account.
Google data
This is the collectable data for Google Connect.
Public data
-
User ID (
id) - A unique identifier for the user.
-
Name (
name) - The user’s full name.
-
Email Address (
email) - The user’s primary email address.
-
Profile Picture (
picture) - The user’s profile image.
-
Locale (
locale) - The user’s language and regional settings.
User consent needed
-
First Name (
givenName) - The user’s given/first name.
-
Last Name (
familyName) - The user’s family/last name.
-
Middle Name (
middleName) - The user’s middle name.
-
Gender (
gender) - The user’s gender.
-
Birthday (
birthday) - The user’s date of birth.
-
About (
about) - Information about the user (biography).
-
Profile (
profile) - The user’s profile URL.
-
Phone Number (
phoneNumber) - The user’s phone number.
-
Phone Number Verified (
phoneNumberVerified) - Whether the phone number is verified.
-
Email Verified (
emailVerified) - Whether the email address is verified.
Create a Google application
You must have a Google Developer account to complete these instructions.
Here, we’ll first create the application project and then we’ll create some credentials for the Google People API.
-
Go to your Google Cloud Platform and log in.
-
Create a new project.
-
Enable the Google People API by going to the APIs Overview section.
If you only want to implement Google One Tap, you do not need to enable the Google People API.
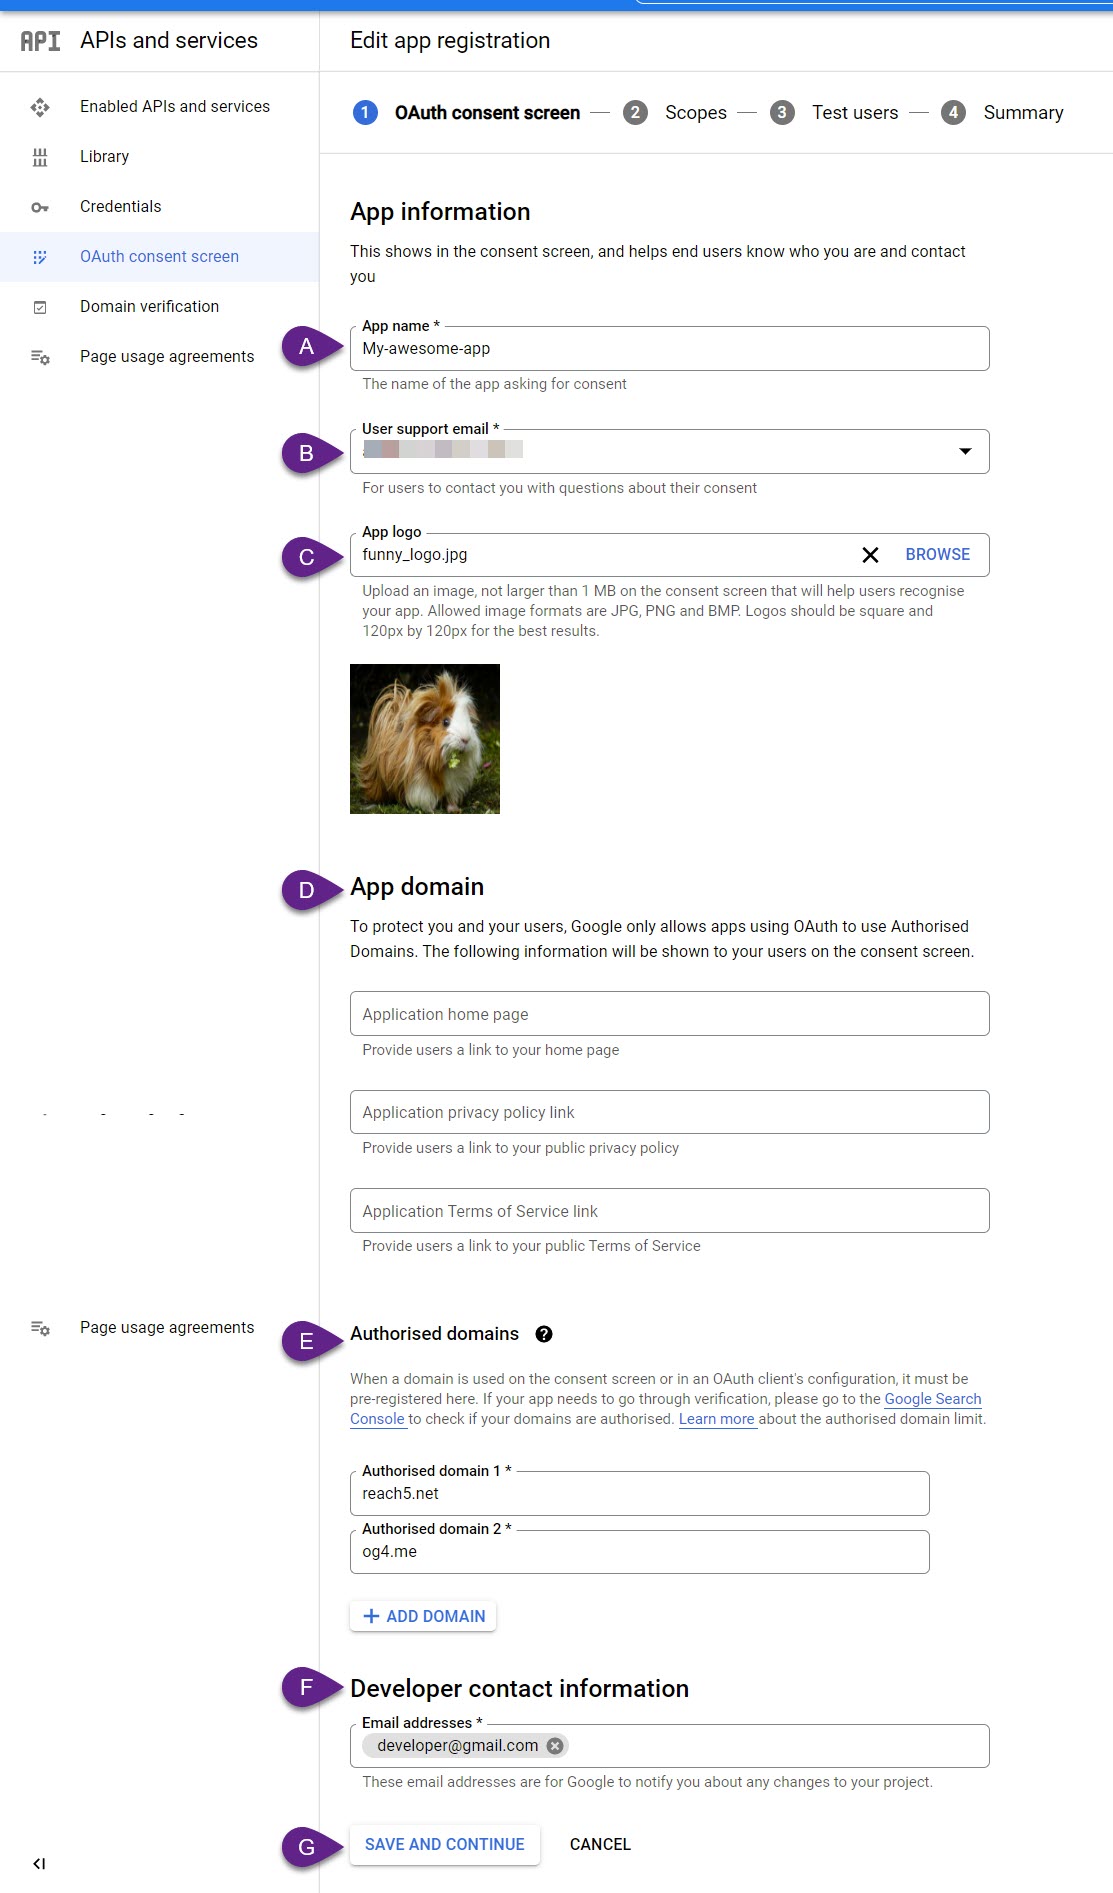
Create consent screen
First, you’ll need to create a consent screen and then create your credentials.
-
Go to .
-
Fill out the consent screen which includes:
-
App name
If you would like to have your own app name displayed here instead of the redirect URI, you’ll need to have a custom domain for your ReachFive account. See Custom domains and certificate management for more details. -
User support email.
-
App logo.
-
App domain.
-
Authorised domains.
-
Developer contact information.
-
Don’t forget to Save your input.
-
Create credentials
Next, you’ll create the credentials.
-
Click Create Credentials under .
-
Choose OAuth client ID in the dropdown menu.
-
Choose Web application as the application Type.
-
In Authorized JavaScript origins, enter any URLs you want whitelisted.
This is particularly important if you are planning on implementing Google One Tap. -
In Authorised redirect URIs, enter
https://{REACHFIVE_DOMAIN}/login/callback`where `REACHFIVE_DOMAINis your ReachFive domain. -
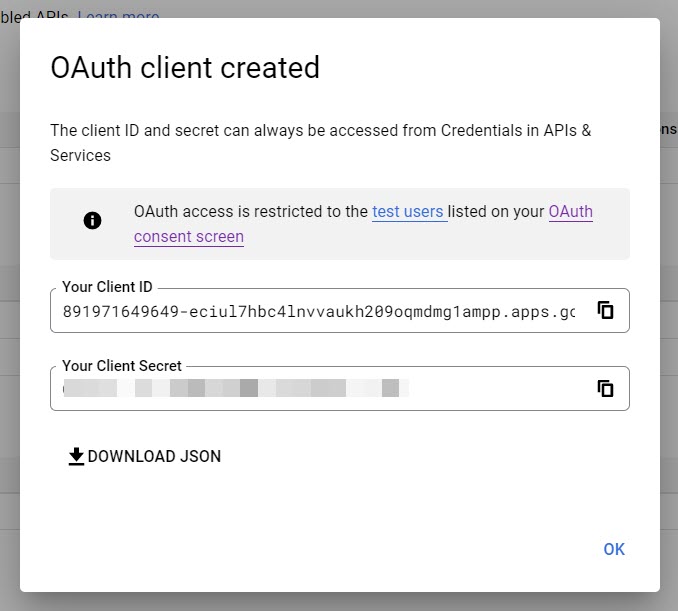
Click Create.
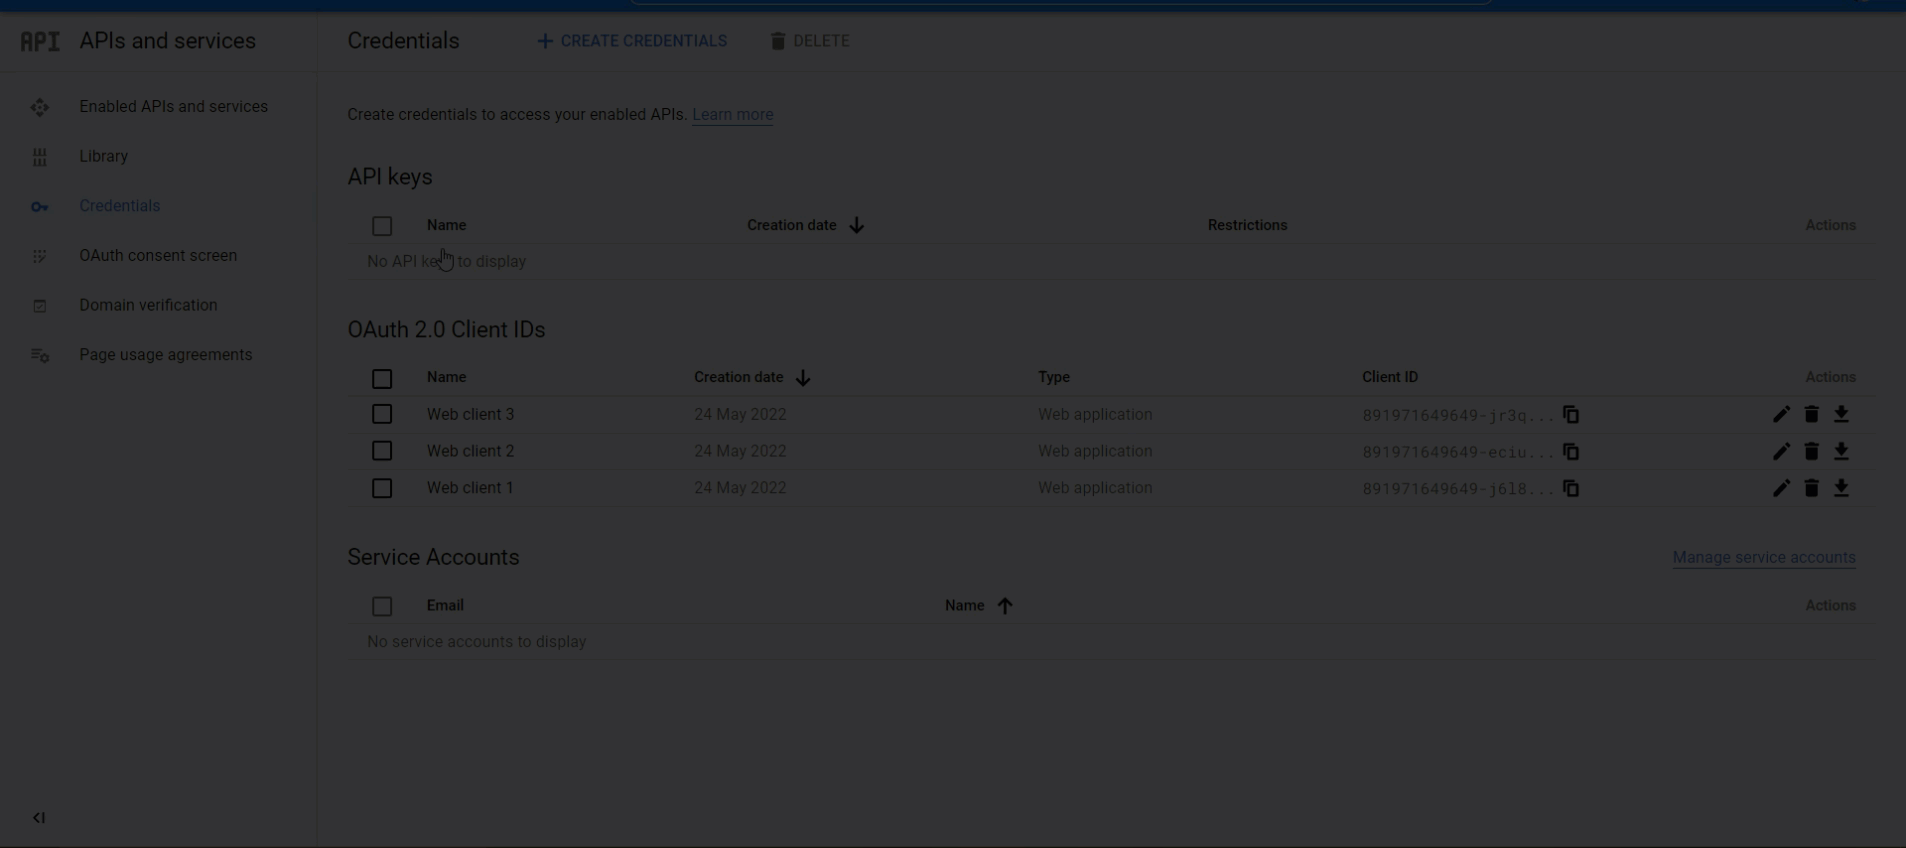
-
Copy your new credentials.
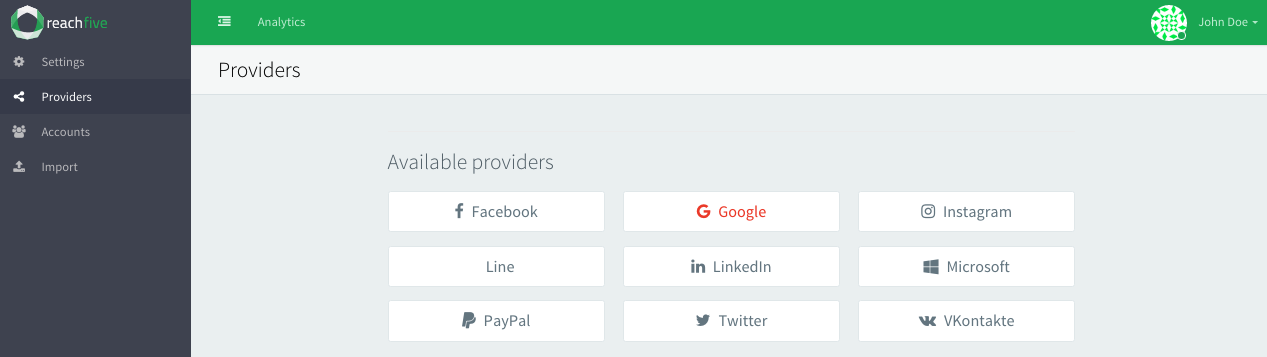
Configure Google as provider on ReachFive
-
On the ReachFive Console, go to , and select Google.
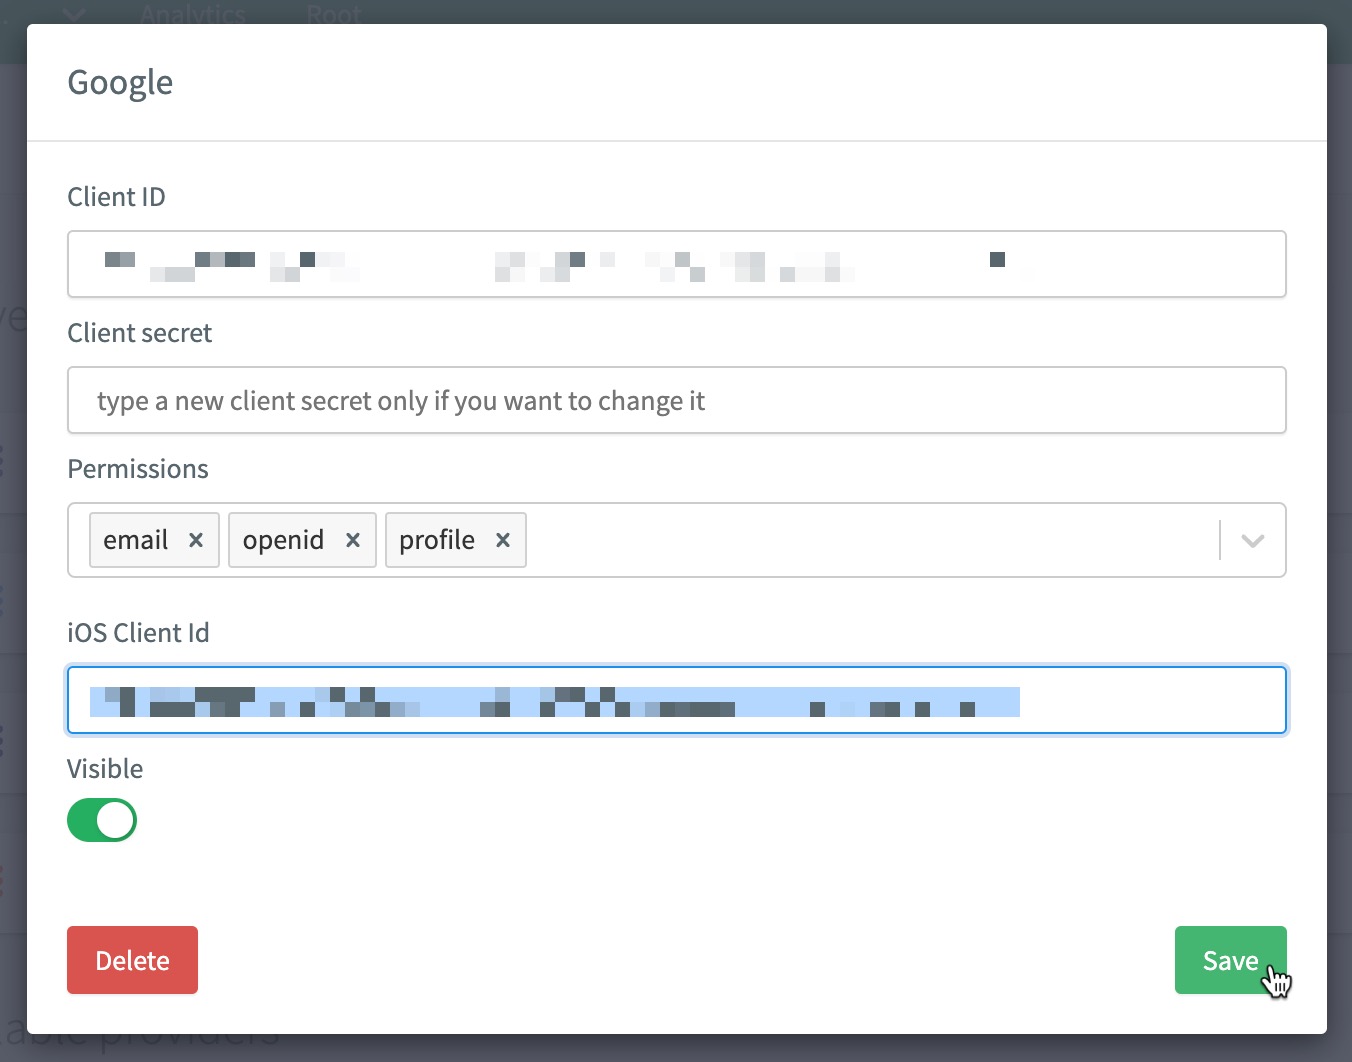
-
Paste your credentials and add all available permissions.
-
If using iOS, you should also paste in your Google Client ID.
Example:
1234567890-abcdefg.apps.googleusercontent.comFor more, see iOS SDK: Google native provider.If you have multiple brands or subsidiaries using Google or even if you have different use cases, you can add them as variants within the ReachFive Console.
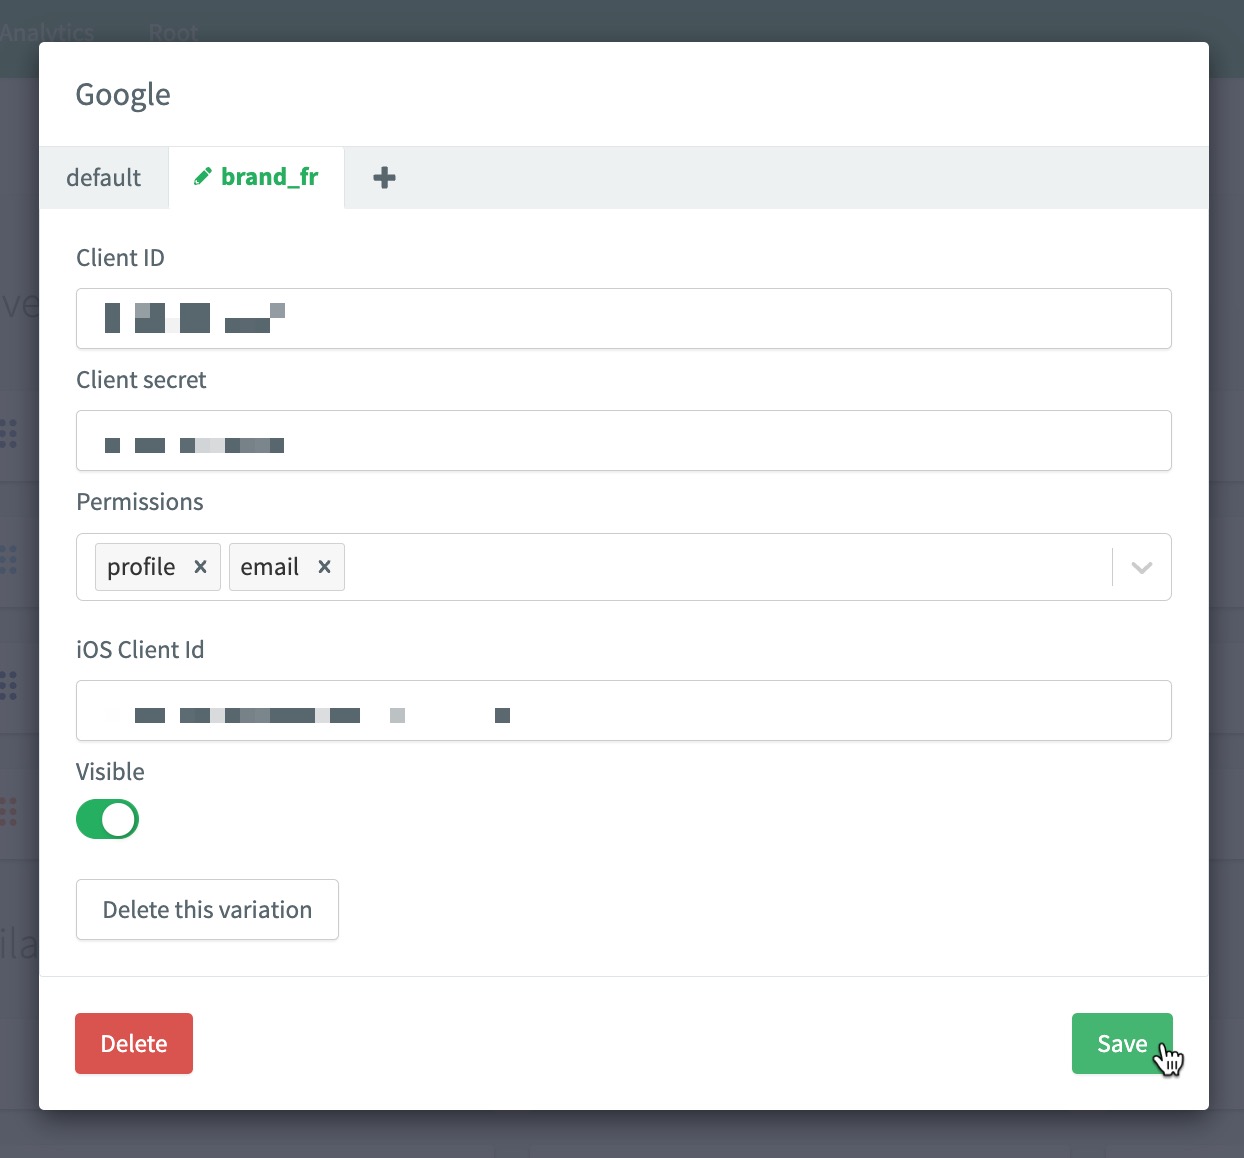
-
Don’t forget to Save your input..
Google buttons
To implement your own button, follow the Google guidelines.
|
Do not use the red button, use the Google button as below. 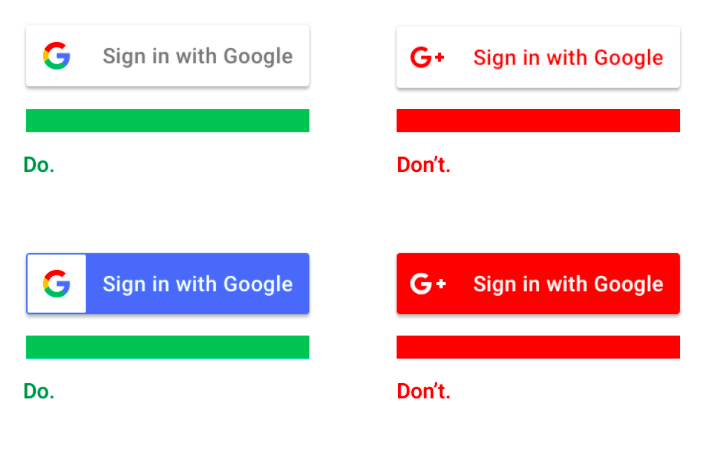
|