Google One Tap
To use Google One Tap as a social login provider, you will need the Client ID and Client Secret from your Google app as set up with Google Connect. It’s important to note that you can use both the standard Google Connect option where users can authenticate with their Google accounts as well as Google One Tap.
Prerequisites
-
You must have configured your site or application to use Google Connect as a social login provider.
-
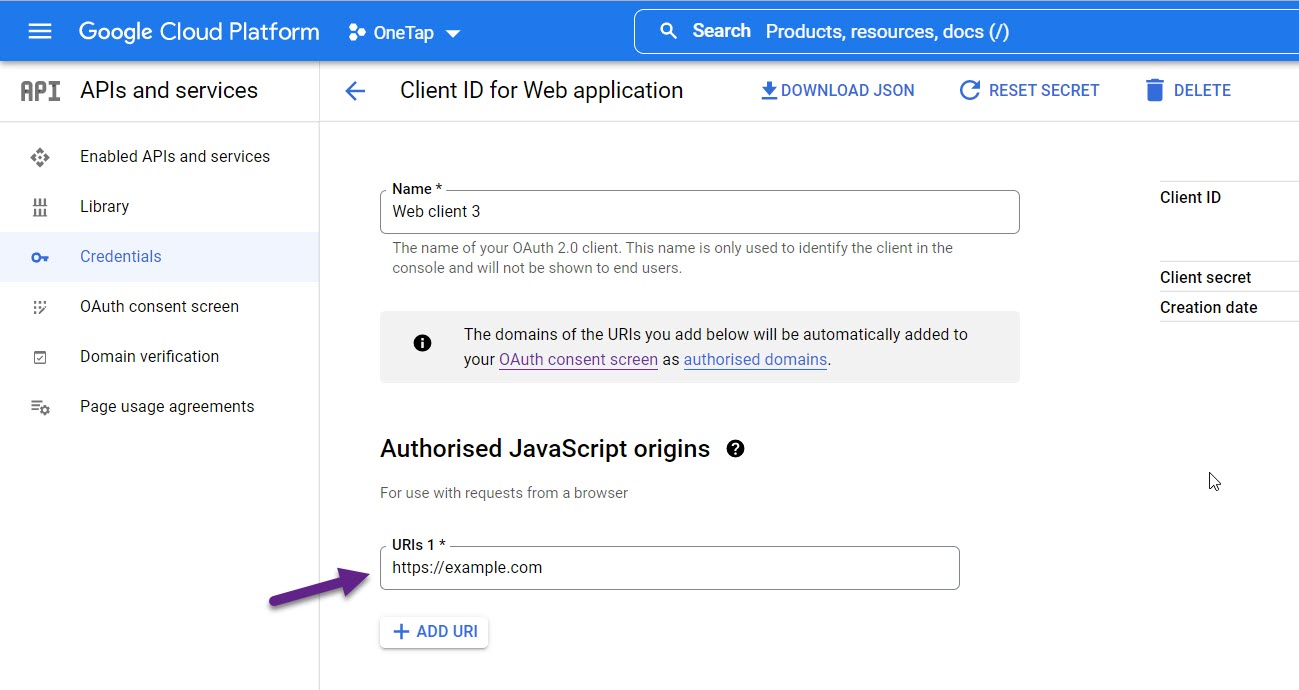
You must whitelist the origin URL you’re using with One Tap in the configuration in your Google Cloud Platform (GCP) account.
Default values for Google
The default values available to ReachFive from Google are:
-
id -
name -
givenName -
middleName -
familyName -
nickname -
imageUrl(profile image) -
email -
gender -
birthday -
phoneNumber
|
With Google One Tap, you can access those default fields that are part of the |
Instructions
After configuring Google Connect to work with your ReachFive account, you only need to use the instantiateOneTap method to use Google One Tap. The instantiateOneTap method loads the Google scripts necessary for using One Tap in your site or application and enables the widget. The widget is loaded without checking on authentication from ReachFive, so to avoid displaying the widget to authenticated users, it’s best to doing a checkSession first as part of the implementation.
It’s up to you to decide where and when on your site where you want Google One Tap to be available. To do this, simply call the instantiateOneTap method.
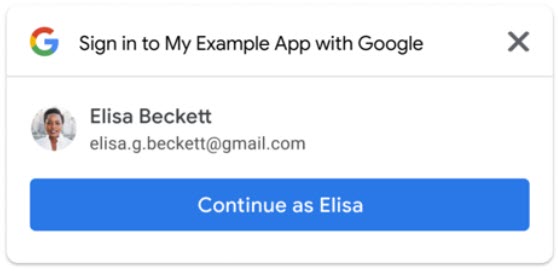
Your users will see something like the following: