ReachFive Console
The ReachFive Console is your administrative UI where you can:
-
Set up your Clients
-
Manage users by Roles
-
Configure feature settings such as Hosted Pages, Consents, Custom fields, and more
-
Import and Export user profiles as well user events
-
Analyze things like demographics, user activity, consents, and user location
Access your ReachFive Console
Your ReachFive domain is available from the ReachFive Console from the Settings menu.
You have access to the ReachFive Console with several available environments including:
-
an instance for ReachFive Staging Console
-
an instance for ReachFive Console
Account settings
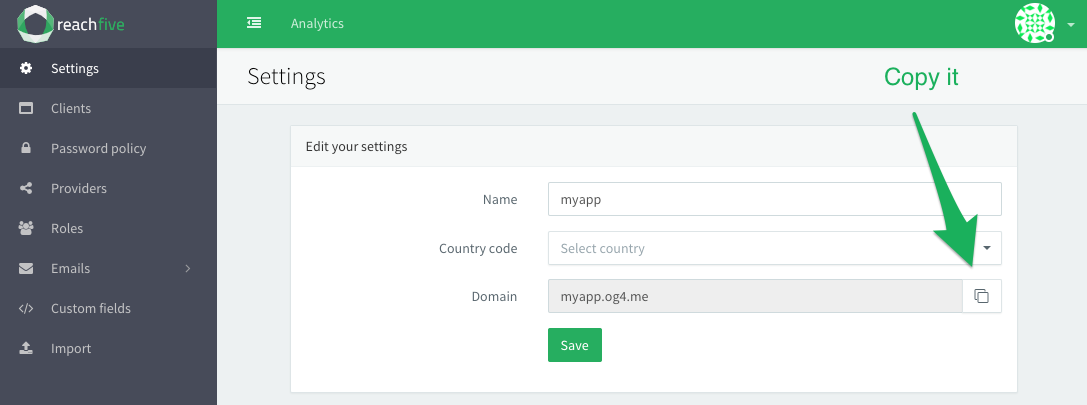
You can access your ReachFive Console account settings at anytime.
-
In the ReachFive Console, go to Settings.
-
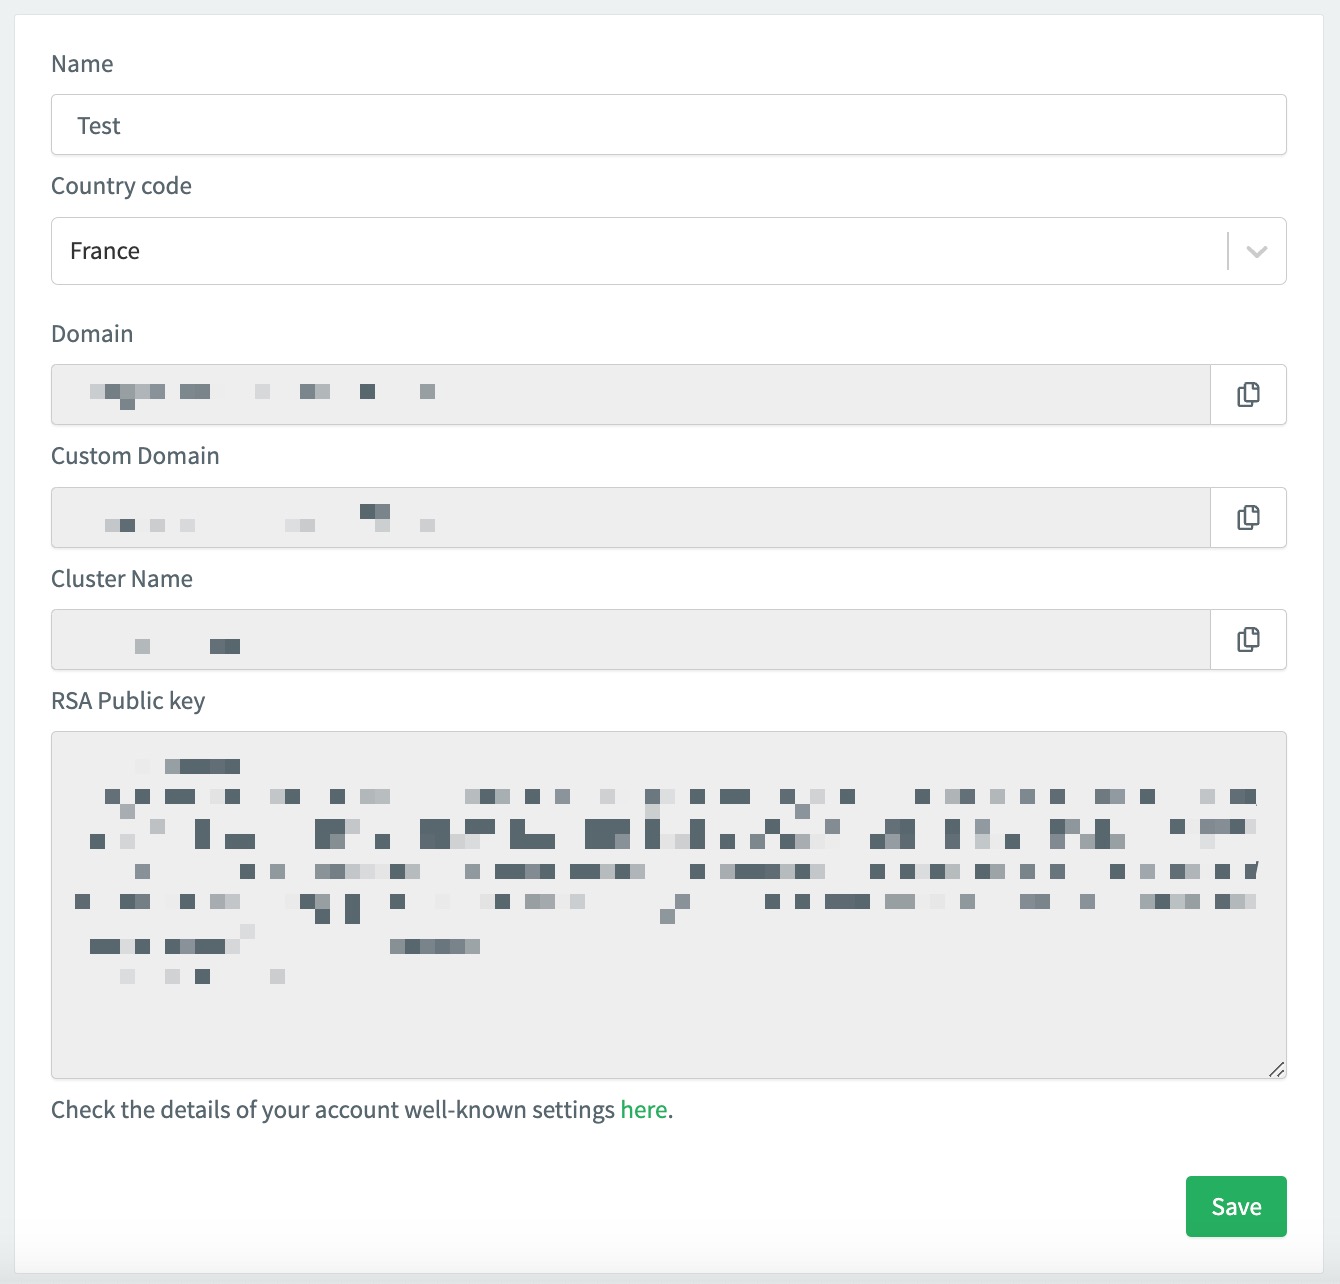
Here, you can:
-
Add or edit your account name.
-
Choose your country code.
-
Copy your domain.
-
Copy your custom domain (if applicable).
-
Copy your cluster name.
-
Copy your RSA Public Key.
-
Browser compatibility
The ReachFive Console is compatible with the latest versions of:
|
Internet Explorer is no longer supported as of the 17 August, 2021. It has been deprecated by Microsoft. |
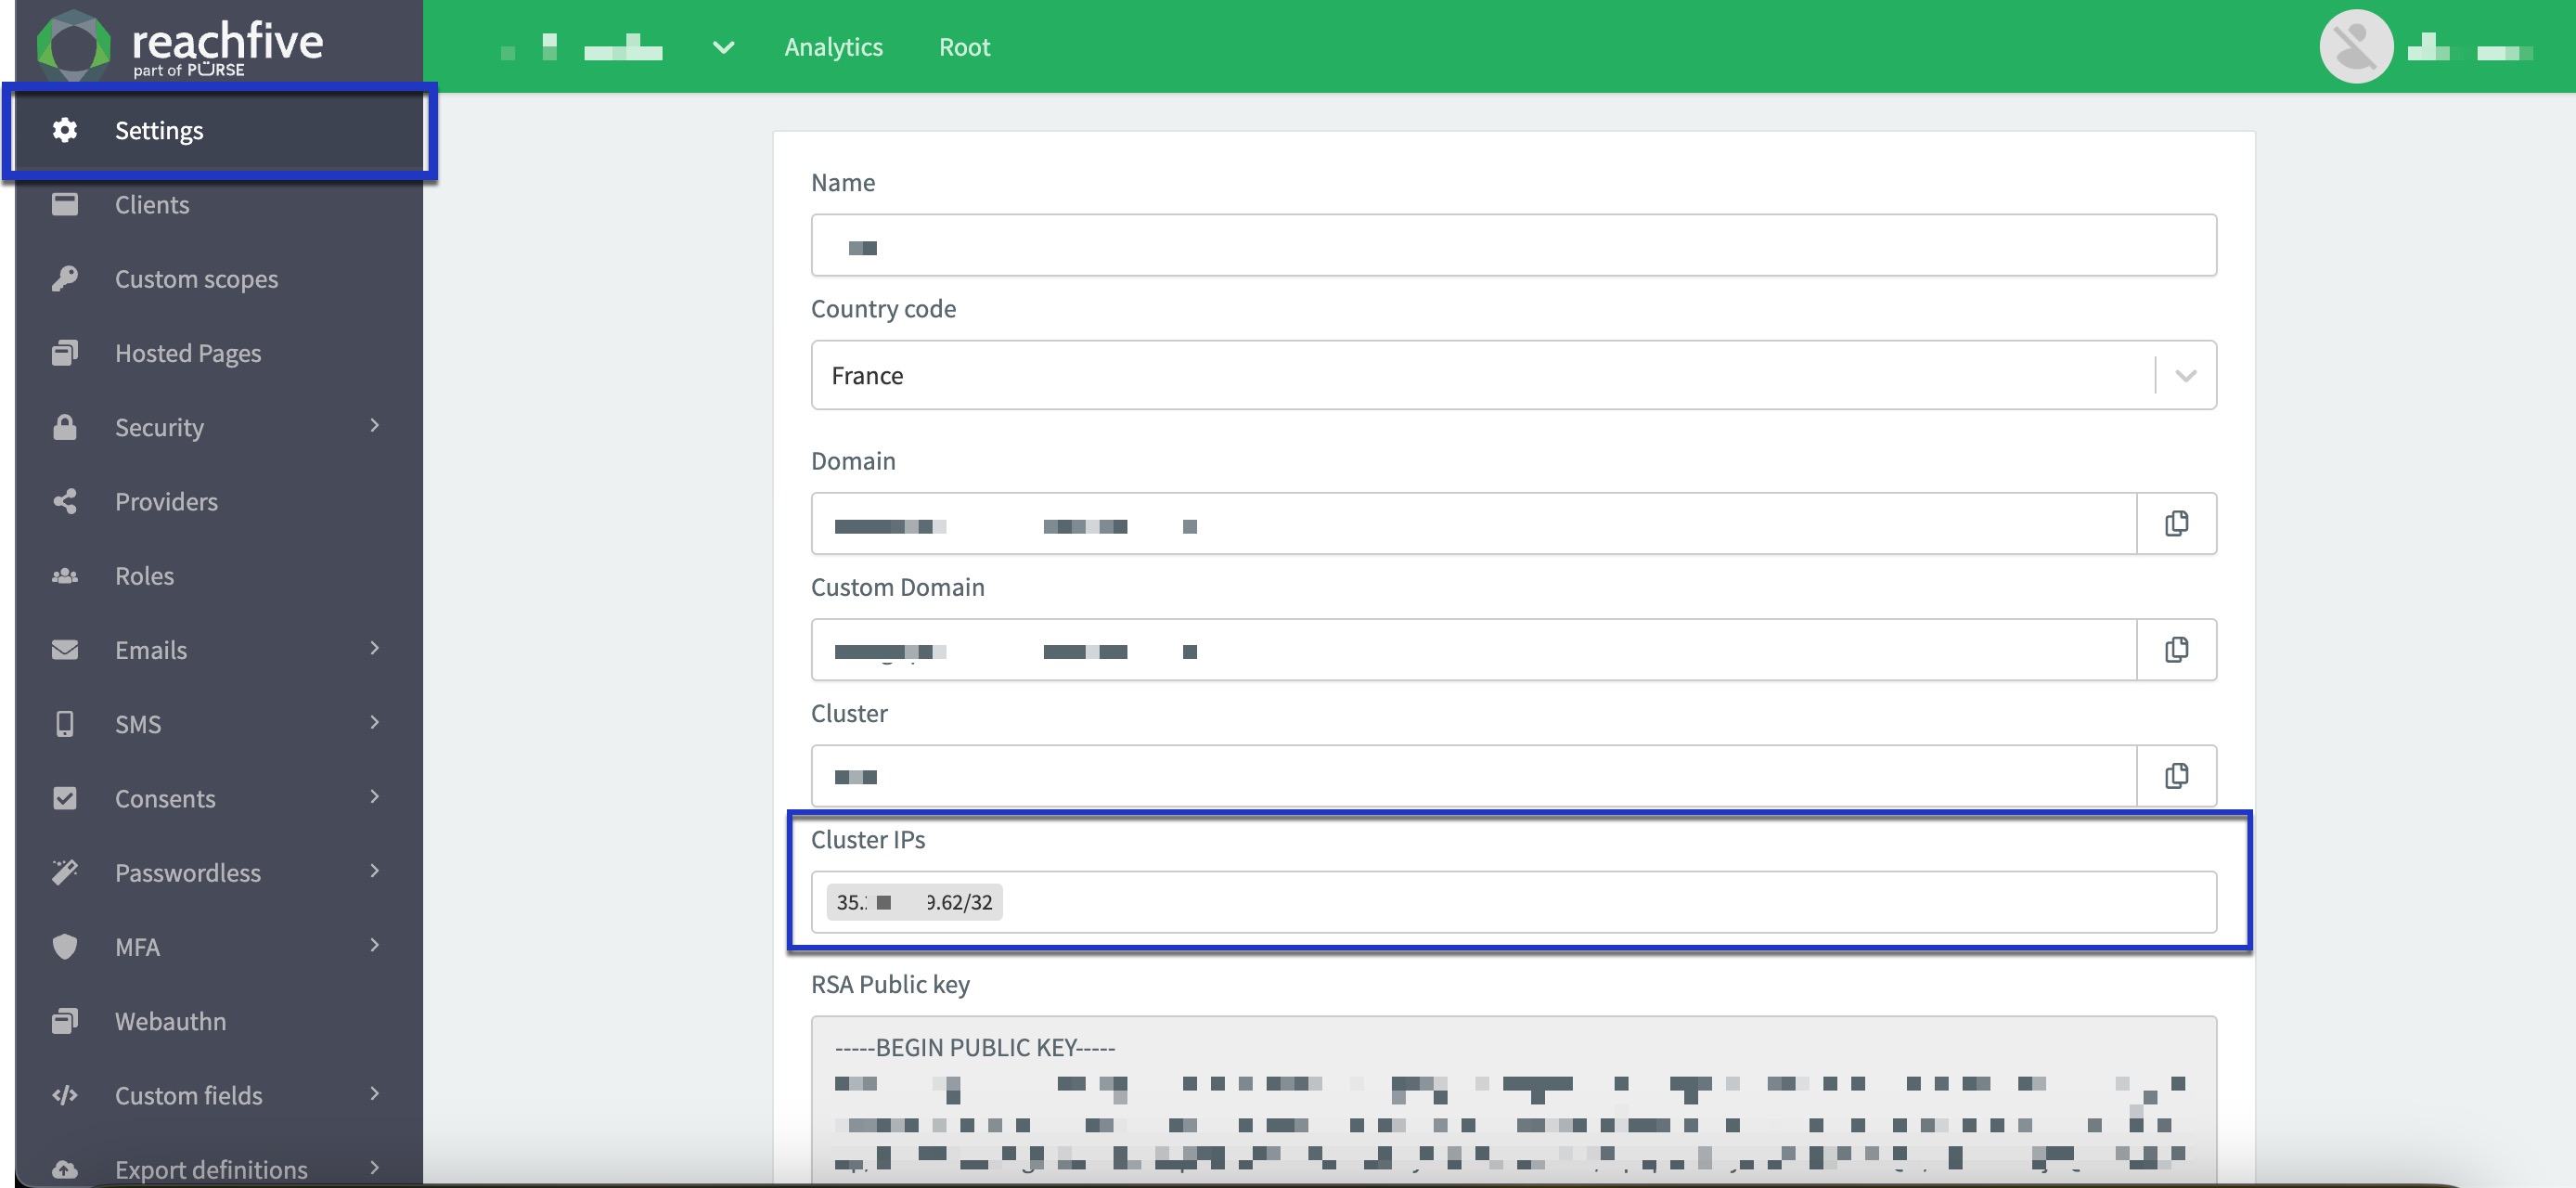
Outgoing Cluster IPs
When configuring jobs to connect to external systems, such as an SFTP server, you may need to authorize our cluster’s outgoing IP addresses on your firewall.
Our system uses specific outgoing IPs for network communication. If these IPs are not added to your allowlist, connections to your external systems may fail.
Console user information
This section contains useful information related to console users and accessing the console.
Force social login
If you would like that users can only authenticate via Social Login, we can do that for you. You’ll need to reach out directly to your ReachFive representative and we’ll ensure to enforce that rule for you.
Otherwise, users are able to register with a username/password combination.
