Consents
ReachFive ships with a full-fledged consent management module which allows you to collect Consents from your users, in compliance with the GDPR. This page shows you how to manage Consents from the ReachFive Console. This page focuses primarily on standalone consents. For more on grouping consents, see Consent groups.
Consent of the data subject means any freely given, specific, informed and unambiguous indication of the data subject’s wishes by which he or she, by a statement or by a clear affirmative action, signifies agreement to the processing of personal data relating to him or her.
| For information on collecting and using Consents, see Collect and analyze consents. |
Manage Consents from console
You can create, update, and archive user Consents easily from the ReachFive Console.
| If you do not see the Consent option available on your ReachFive Console, get in touch with ReachFive Support as the feature may need to be enabled. |
Prerequisites
-
You must have access to the ReachFive Console.
-
You must have a Developer, Manager, or Administrator role.
-
You must have the Consents feature enabled.
Instructions
-
Log in to your ReachFive Console.
-
Navigate to .
-
Create, edit, or archive a Consent.
-
Click New Consent.
-
Enter a Key for your Consent.
-
Choose the Consent Type.
-
opt-in: requires an explicit action by the user on signup. -
double-opt-in: requires an explicit action by the user on signup as a typical "single" opt-in. However, there is an additional step required here where the user (via SMS or email) must confirm the choice to opt-in, adding further peace of mind and security for your users. -
opt-out: is automatically accepted on user signup. If a user does not want to accept the given processing purpose, the user must explicitly opt out of it.Opt-outs are considered lawful only if justified by legitimate interest. -
If you choose a double-opt-in type, you’ll need to choose the Preferred channel.
-
-
-
Add a Tag. Hit Enter to ensure the tag is received.
Tags are normalized before being saved. This means that trailing spaces are removed and all letters are converted to lowercase. Duplicate tags are also removed. -
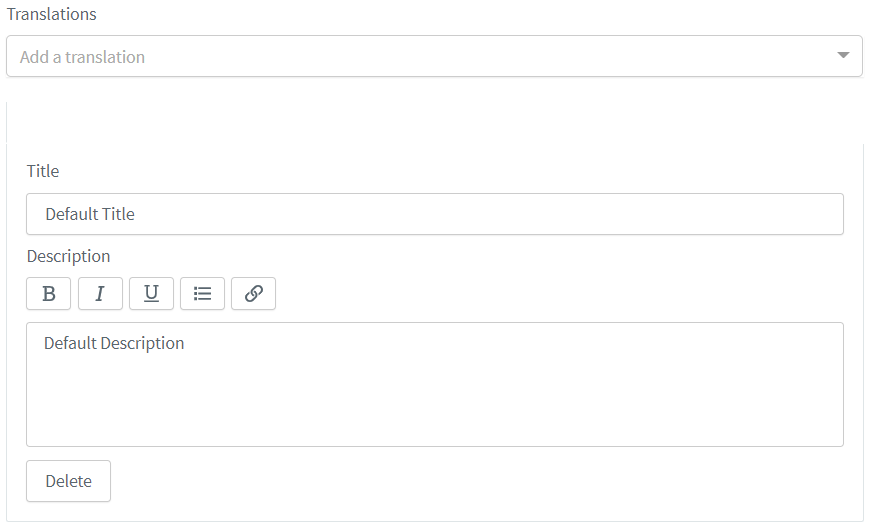
Under the Version 1 tab, add a Translation for your Consent.
Make sure you first add a translation for the account’s default language. After that, you can add as many translations as you like.
-
Choose the language for your translation from the dropdown menu.
-
Give the consent translation a Title.
This is the primary text that the user sees when consenting. -
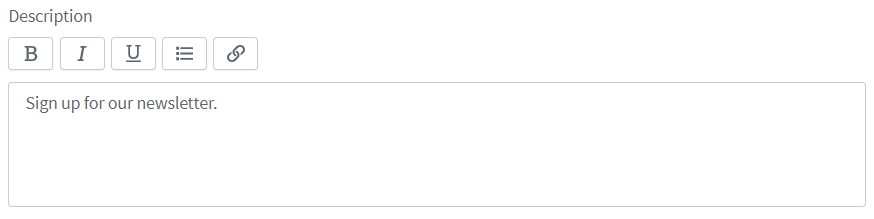
Write a Description for the consent translation.
This describes the consent to the user. For example, "Sign up to our newsletter".
-
Don’t forget to Save your input.
-
Click the
 under Actions.
 -
Update your Consent as needed.
It is okay to edit an existing Consent version. However, if there are substantial changes that impact what the user is agreeing (or not agreeing) to. We highly recommend that you create a new version.
-
To add a new Consent version, click Add new version.
-
Choose the language for your translation from the dropdown menu.
-
Give the consent translation a Title.
This is the primary text that the user sees when consenting. -
Write a Description for the consent translation.
This describes the consent to the user. For example, "Sign up to our newsletter".
-
Don’t forget to Save your input.
-
Find the Consent that you would like to archive.
-
Click the
 under Actions.
 -
Click Yes when the pop-up asks if you want to archive the consent.
You can see the consent is archived when it is greyed out as shown in the image below. 
You can reactivate a consent at any time. -
Set the default language for Consents
You must set the account’s default language for Consents in the ReachFive Console. Ensure that all Titles and Descriptions for your Consents are in the same language as your default language. For additional languages, add a translation.
If the Title and Description are in a language that do not match the default language selection in the ReachFive Console, your Consent Title and Description will default to the selected default language, potentially causing translation issues.
|
Prerequisites
-
You must have access to the ReachFive Console.
-
You must have a Developer, Manager, or Administrator role.
-
You must have the Consents feature enabled.
Instructions
-
Log in to your ReachFive Console.
-
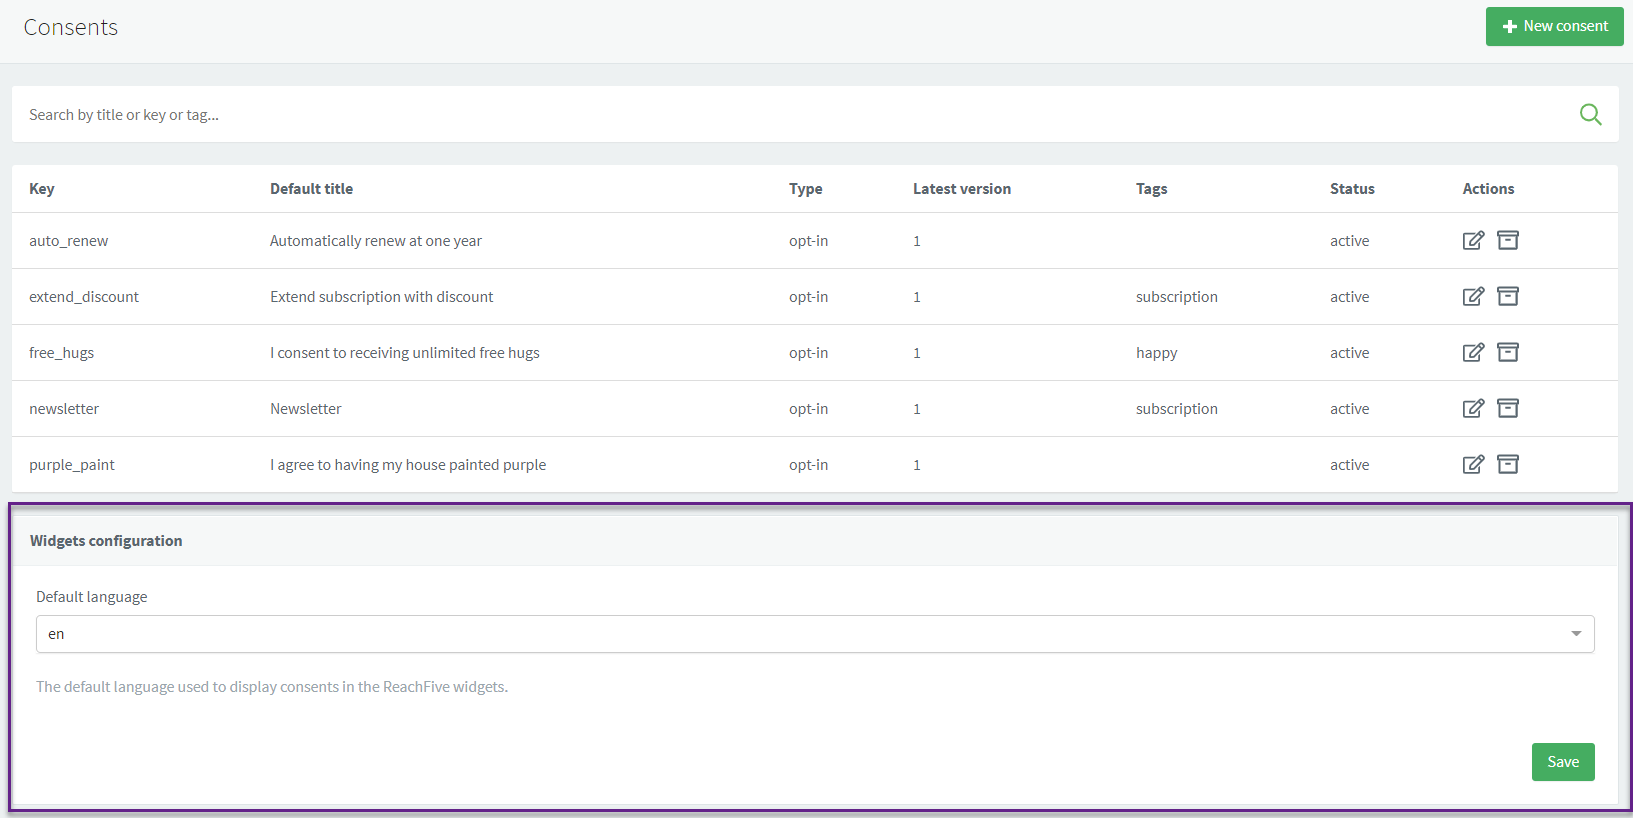
Navigate to Settings > Consents.
-
Under Widgets configuration, select your Default language from the dropdown menu.
- Currently supported languages
-
-
ar- العربية Arabic -
de- Deutsch German -
en- English -
es- Español Spanish -
fr- Français French -
hu- Magyar Hungarian -
it- Italiano Italian -
jp- 日本 Japanese -
ko- 한국인 Korean -
nl- Nederlands Dutch -
pt- Portuguese -
ru- Ру́сский Russian -
sk- Slovenský Slovak -
zh-CN- People’s Republic of China Simplified Chinese -
zh-Hans- Simplified Chinese -
zh-Hant- Traditional Chinese -
zh-HK- Hong Kong Traditional Chinese -
zh-MO- Macao Traditional Chinese -
zh-SG- Singapore Simplified Chinese -
zh-TW- Taiwan Traditional Chinese
-
-
Don’t forget to Save your input.
Consent helpers
This section provides important definitions and interface help for using and managing Consent from the ReachFive Console.
Here you find definitions or common items and terms on the Consents UI as well as a description of icons.
Definitions
| Item | Required | Description | ||||||||||||
|---|---|---|---|---|---|---|---|---|---|---|---|---|---|---|
✓ |
Uniquely identifies a Consent. This key is used to reference the Consent in the ReachFive SDK.
|
|||||||||||||
✓ |
The title of the Consent.
|
|||||||||||||
Describes the Consent to the user in more detail. You can use a few shortcuts for writing in the text box on the ReachFive Console for consents.
|
||||||||||||||
✓ |
Specifies the Consent type.
To have the Explicit Opt-Out Grant feature enabled, please let your ReachFive contact know you want the feature and we’ll enable it for you.
|
|||||||||||||
A string tag (label) that can be added to Consents. This improves filtering and categorizing Consents via the ReachFive Console.
|
||||||||||||||
Consent versions allow you to offer different versions of a single Consent. For example, if you need to know what is accepted in the Consent, but the Consent is standard across your offerings, creating a new Consent version allows you to manage this from one place in the ReachFive Console.
|
||||||||||||||
Allows you to set different translation for the Consent title and description.
|


UI help
| Item | Description | ||
|---|---|---|---|
|
Edits a Consent. |
||
|
Filters Consents. You can search by |
||
Archives a Consent. You can reactivate an archived Consent at any time.
|
|||
|
Reactivates a previously archived Consent. |

Consent versions
When creating a Consent, Version 1 is automatically available to you where you (at a minimum) add the translation for your default account language.
There are a few general rules related to consent versions that are important to understand:
-
If you are managing consents via the Consents API or importing consents, there is no requirement to provide version details as this happens automatically.
-
If you do not provide version details, however, ReachFive assumes that the latest version and default language are what should be used.
| If you want more control over consent versions, you should provide details as this will allow you to more easily differentiate between versions. |
Explicit opt-out option
By default, an opt-out consent type is automatically accepted when a user signs up regardless of how the user authenticates. This means that any consent with the type, opt-out, the consent is selected by the user upon sign up meaning they will have chosen not to opt-out but rather accept the consent.
If you would like it so that opt-out consents are not automatically granted and users must select the box in order to accept the consent, you’ll need the Explicit Opt-Out Grant feature enabled.
To have the Explicit Opt-Out Grant feature enabled, please let your ReachFive contact know you want the feature and we’ll enable it for you.