Passkeys on Android
Introduction
This guide explains how to implement passkey registration and authentication workflow on Android applications.
| The following code samples and screenshots are issued from our example application using our SDK. Feel free to check out the Github project. |
Passkeys prerequisites
To successfully enable passkeys for Android:
-
Enable the WebAuthn feature on your ReachFive account.
You may need to contact support to have this enabled if you do not see it on your ReachFive Console.
You’ll also need:
-
An Android device with a fingerprint sensor or a configured screen lock.
-
Android OS 9.0 or later. Make sure to register a fingerprint (or screenlock).
-
To install our SDK Core which exposes all of the passkey methods.
Get started
This section describes important terms and concepts as well the steps needed to get started with passkeys for Android with ReachFive.
Discoverable login
With discoverable logins, the client requests the credential requirements for the Relying Party. Then, it shows a list of possible stored user handles such as an email, phone numbers, PIN, or usernames for the device. Once the user selects and unlocks the credential, the client continues to complete the authentication flow.
Non-discoverable login
With non-discoverable logins, the client requests the credential requirements for the Relying Party for a specific user. The Relying Party replies with the credentials it can accept for this specific user. If the credentials are accessible to the client, the client prompts the user to select one.
Relying Party ID
data class SdkConfig(
    val domain: String,
    val clientId: String,
    val scheme: String,
    val originWebAuthn: String? = null, (1)
) : Parcelable| 1 | Relying Party ID is the domain to which passkeys are bound.
Once bound to a domain, it can be used on subdomains but not other full domains.
Example: Using the Relying Party ID of |
Digital Asset Links
You need to host a Digital Asset Links JSON file on https://<your_domain>/.well-known/assetlinks.json to allow the application to register and authenticate with credentials associated with the Relying Party ID <your_domain>.
[
  {
    "relation": ["delegate_permission/common.handle_all_urls","delegate_permission/common.get_login_creds"],
    "target": {
      "namespace": "android_app",
      "package_name": "co.reachfive.identity.sdk.demo", (1)
      "sha256_cert_fingerprints": [ (2)
        "AF:C8:F2:4C:AF:46:AA:5B:74:7B:8D:47:4D:82:A6:D1:FF:98:BF:A6:16:D0:D0:82:E8:9A:D0:8C:13:EB:B9:CE"
      ]
    }
  }
]| 1 | package_name matches the applicationId in the build.gradle file. |
| 2 | sha256_cert_fingerprints matches the fingerprint of the signing key. |
| Refer to Android Studio’s Generate and register an upload certificate page to generate a public certificate. |
assetlinks response
The https://<RelyingPartyId>/.well-known/assetlinks.json link must return a 200 HTTP response with a JSON MIME Content-Type header.
Returning a 301 or 302 HTTP redirect or a non-JSON Content-Type causes verification to fail. See Android’s docs for more details.
Hosted pages
If you are using’s ReachFive’s Hosted Pages and need the Asset Links file hosted on your domain at ReachFive, you should input the content of your assetlinks.json file into the text area called assetlinks.json in the section of the ReachFive Console.
| We do not perform any validation on the file. |
If you do not use a custom domain, the Relying Party ID associated to credentials created on Hosted Pages is <account>.reach5.net.
Your Digit Assets Link is served at https://<account>.reach5.net/.well-known/assetlinks.json.
If you do use a custom domain, your Relying Party ID is https://<custom-domain>.
Your Digit Assets Link is served at https://<custom-domain>/.well-known/assetlinks.json.
You could also choose to host the assetlinks.json file on your root domain.
Hosted Pages are accessible via auth.example.com.
You could then host the assetlinks.json file at example.com.
This is a viable long-term option in the case you may not use Hosted Pages in the future.
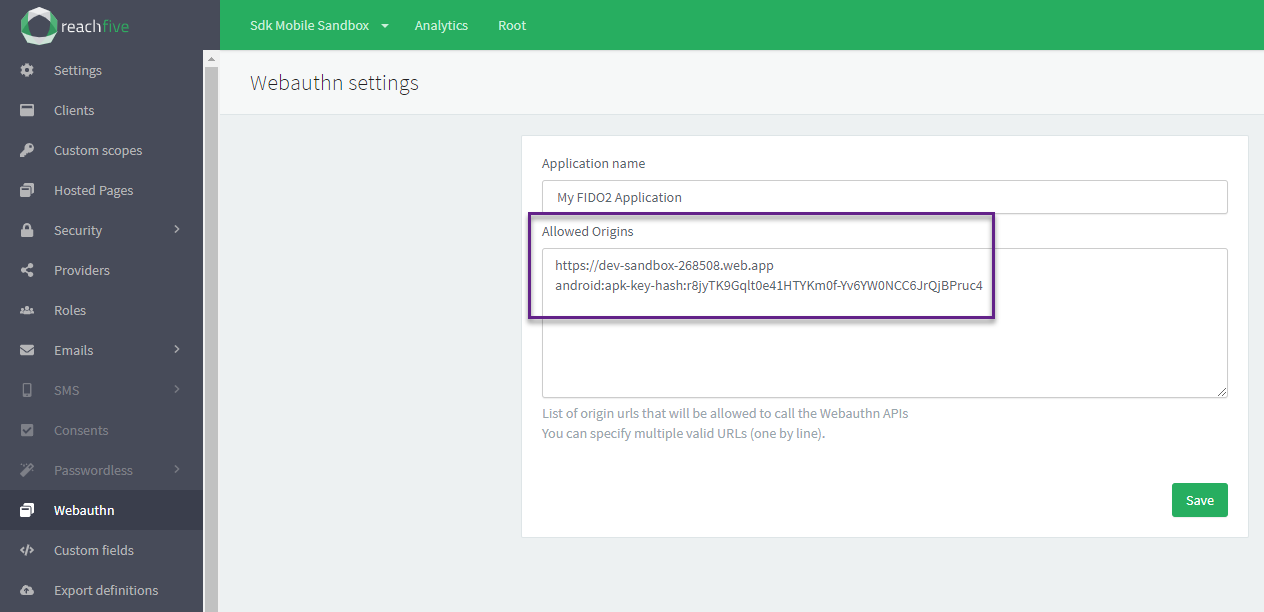
Allowed origins
In the ReachFive Console, under you must allow:
-
the URL of the domain that corresponds to the Relying Party ID
-
the Facet ID
|
The Facet ID is the platform-specific identifier (URI). It matches the format You can compute the Facet ID with the command below: |
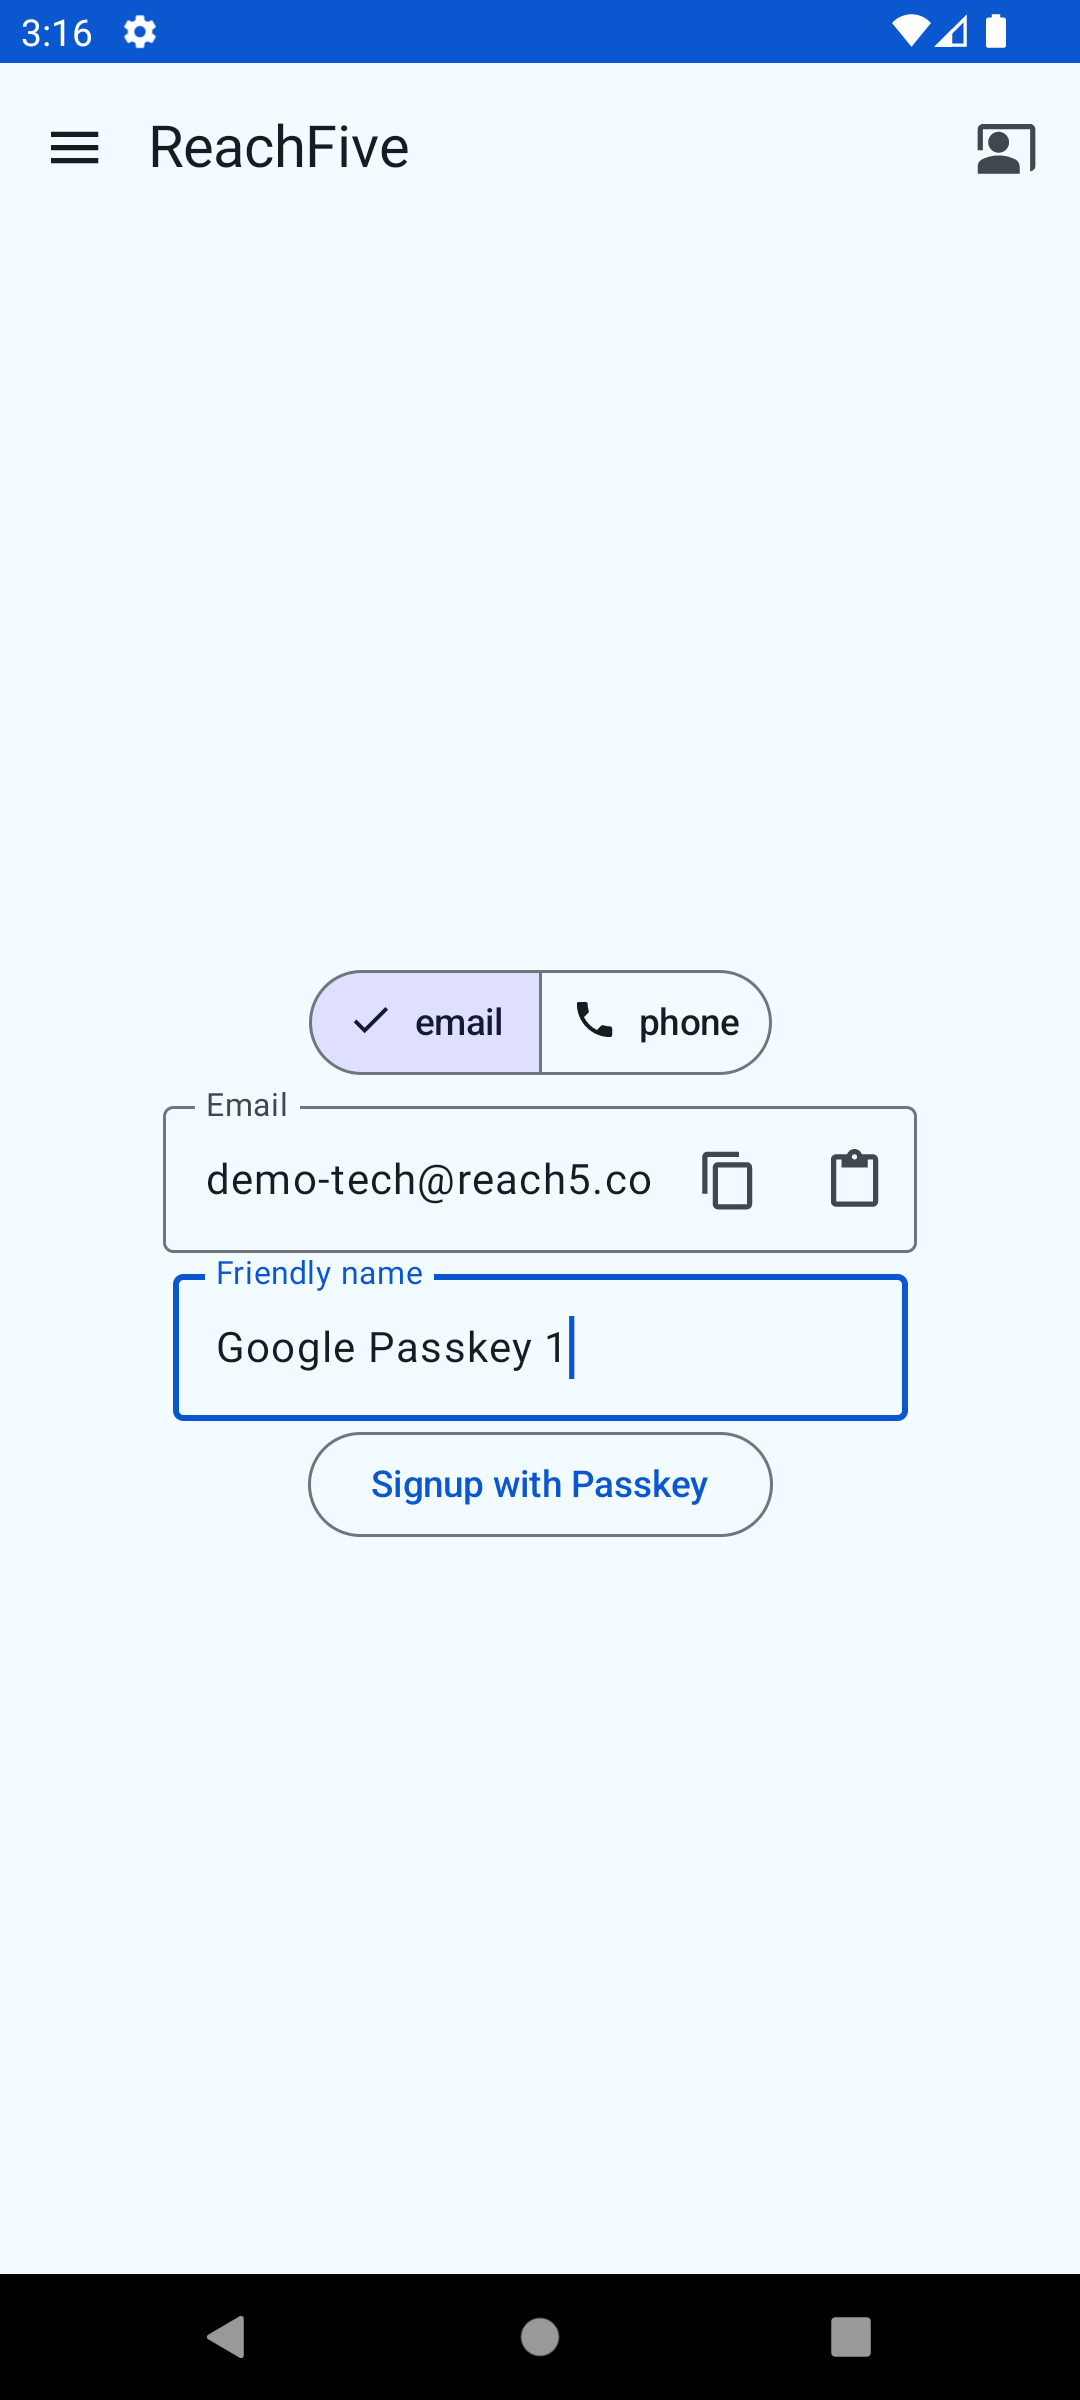
Signup
The user requests to register a new account for the first time.
Users don’t need to provide a password, but instead provide an identifier like an email or mobile number as well as some personal data and a friendlyName.
The data they provide in the signup process is reflected in the profile option in the signupWithPasskey method.
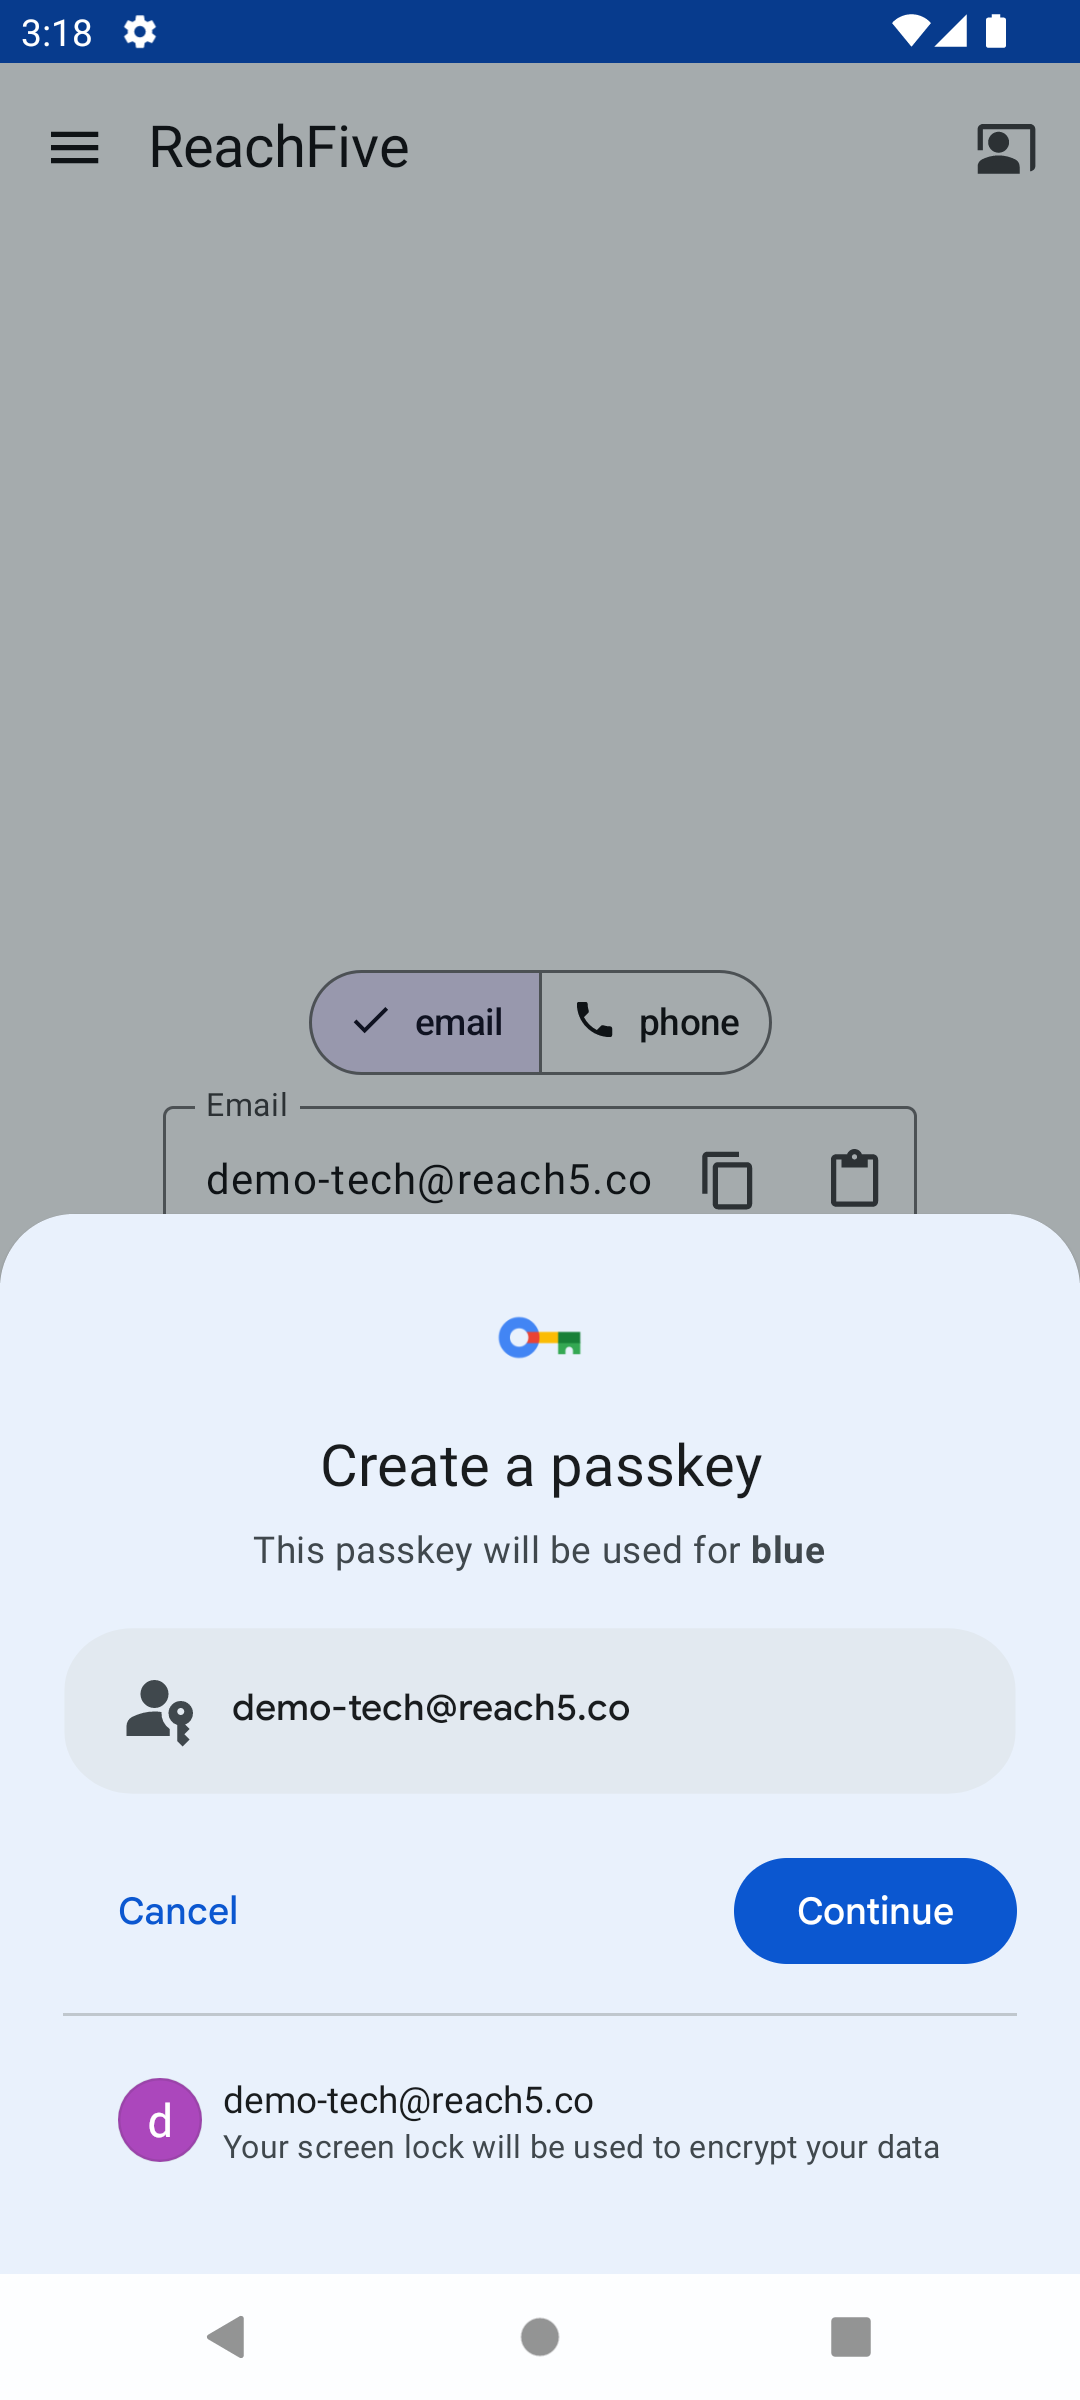
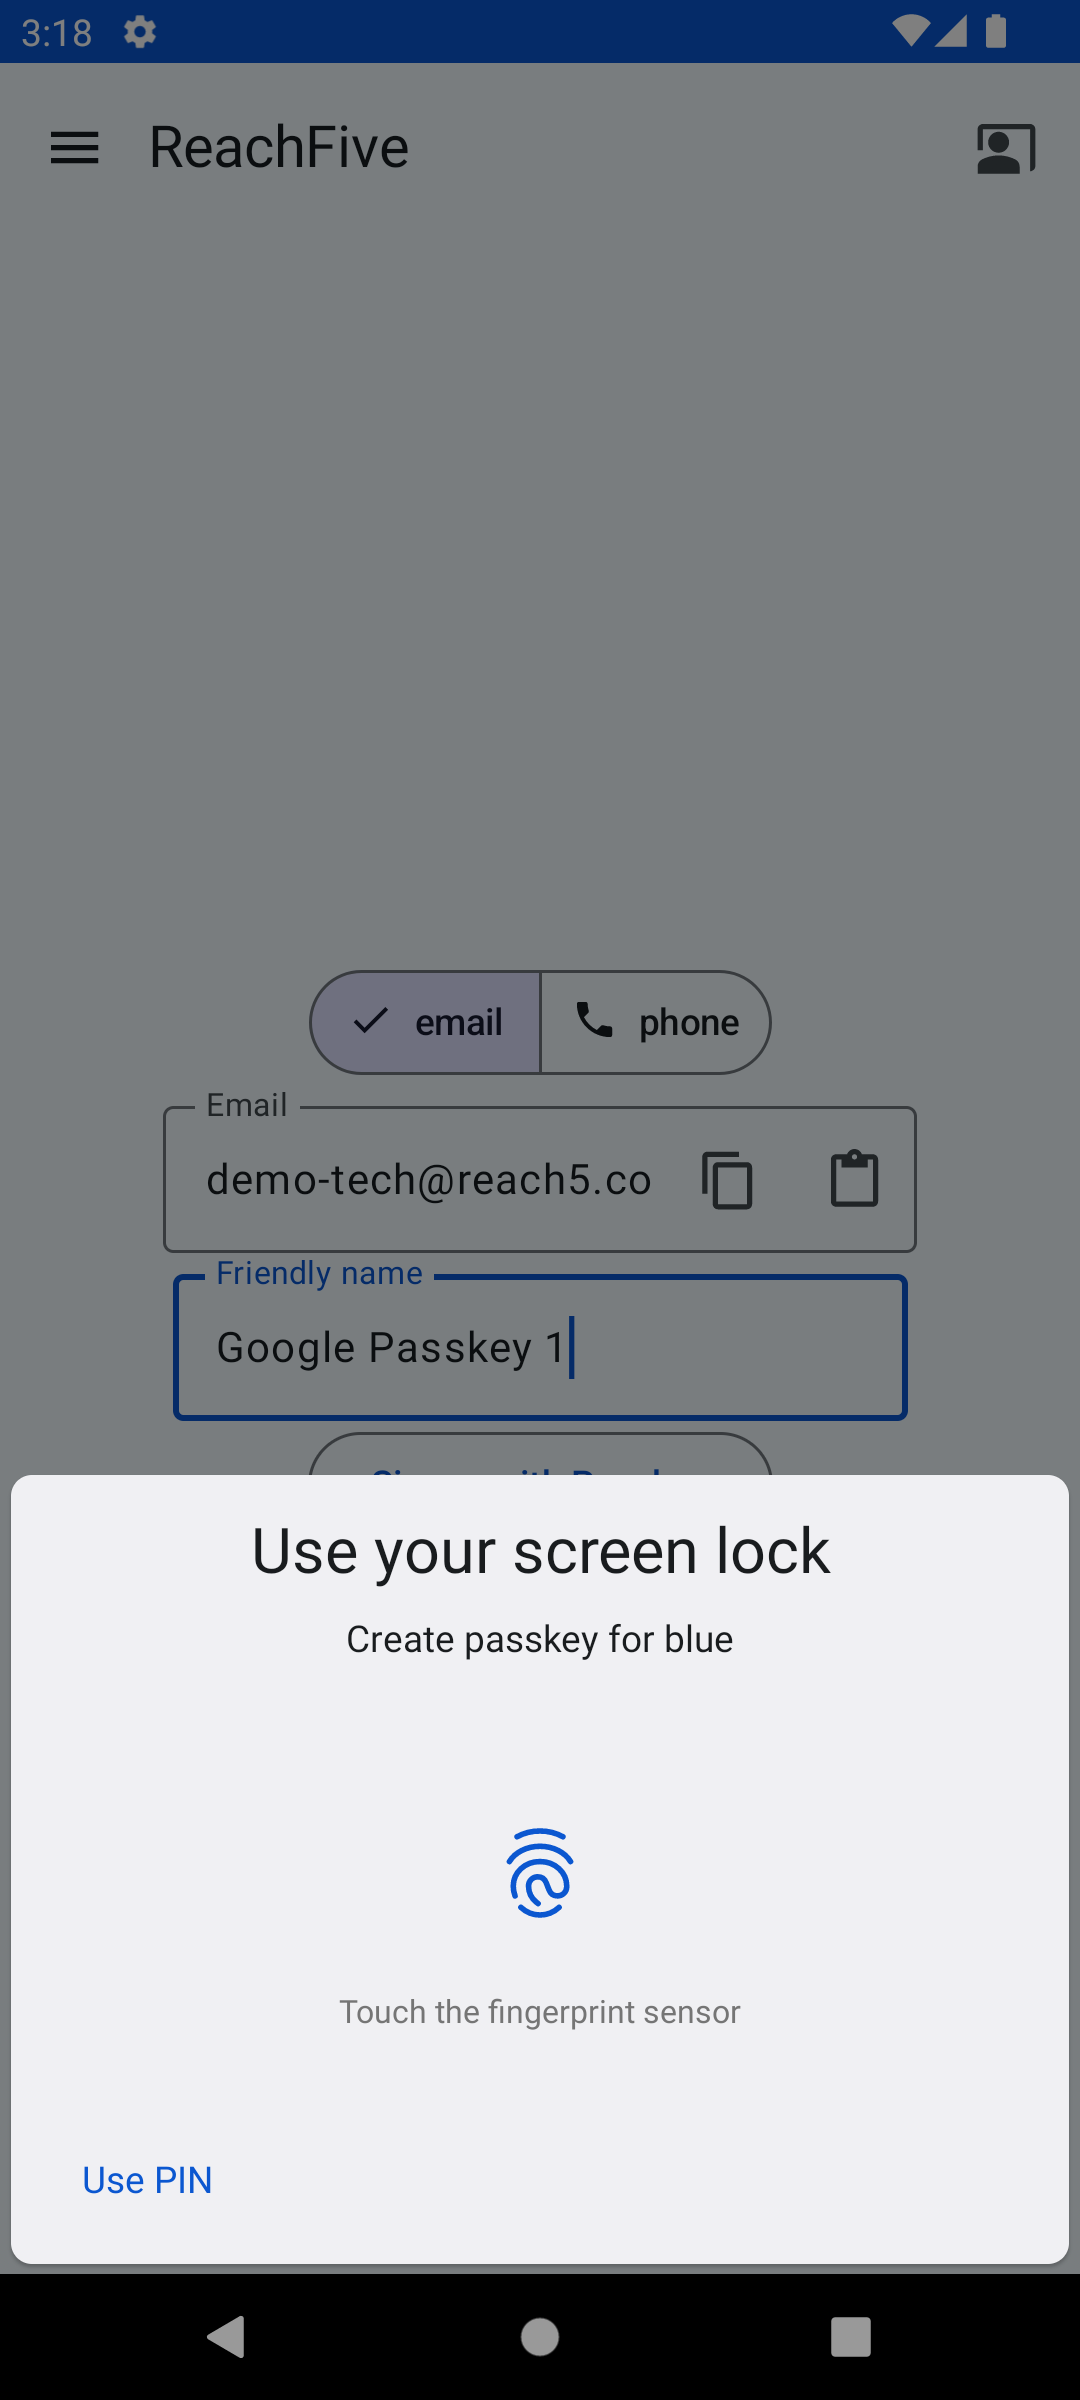
Here is a snapshot of the signup view displayed to the user.
| Step 1 | Step 2 | Step 3 |
|---|---|---|
|
|
|
Signup process
The signupWithPasskey method initiates the passkey signup process.
client.signupWithPasskey(
    ProfileWebAuthnSignupRequest(
        givenName = "John",
        familyName = "Doe",
        email = "john.doe@gmail.com"
    ),
    friendlyName = "Google Password Manager",
    origin = "passkey signup from Android app",
    success = { authToken -> ... }, // Get the profile's authentication token
    failure = { error -> ... }, // Handle a ReachFive error
    activity = activity,
)
Authentication
Once the user has a credential registered on the server and the device, they can use it to login easily with their identifier.
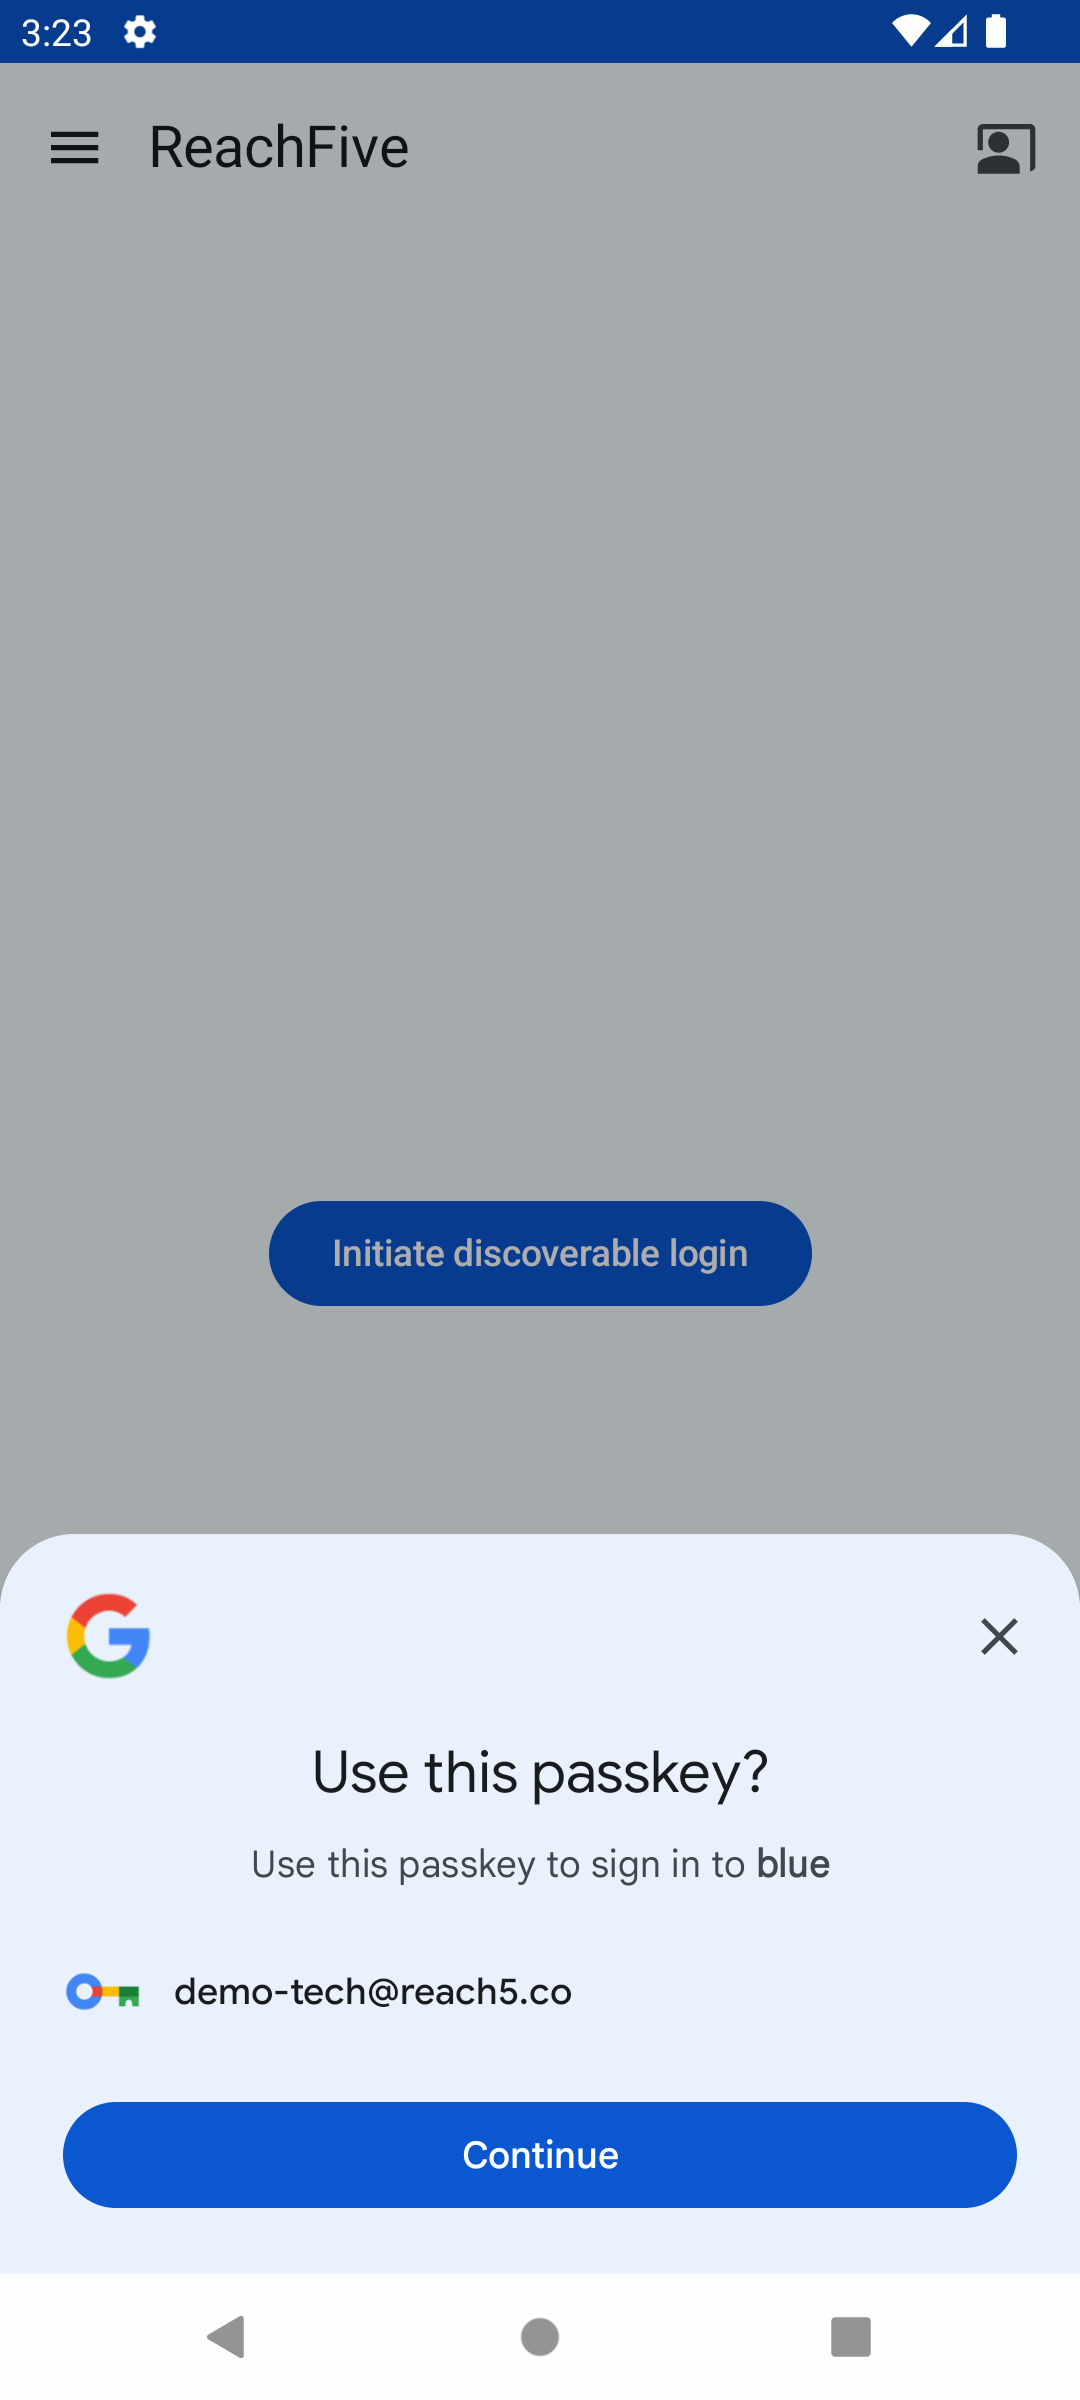
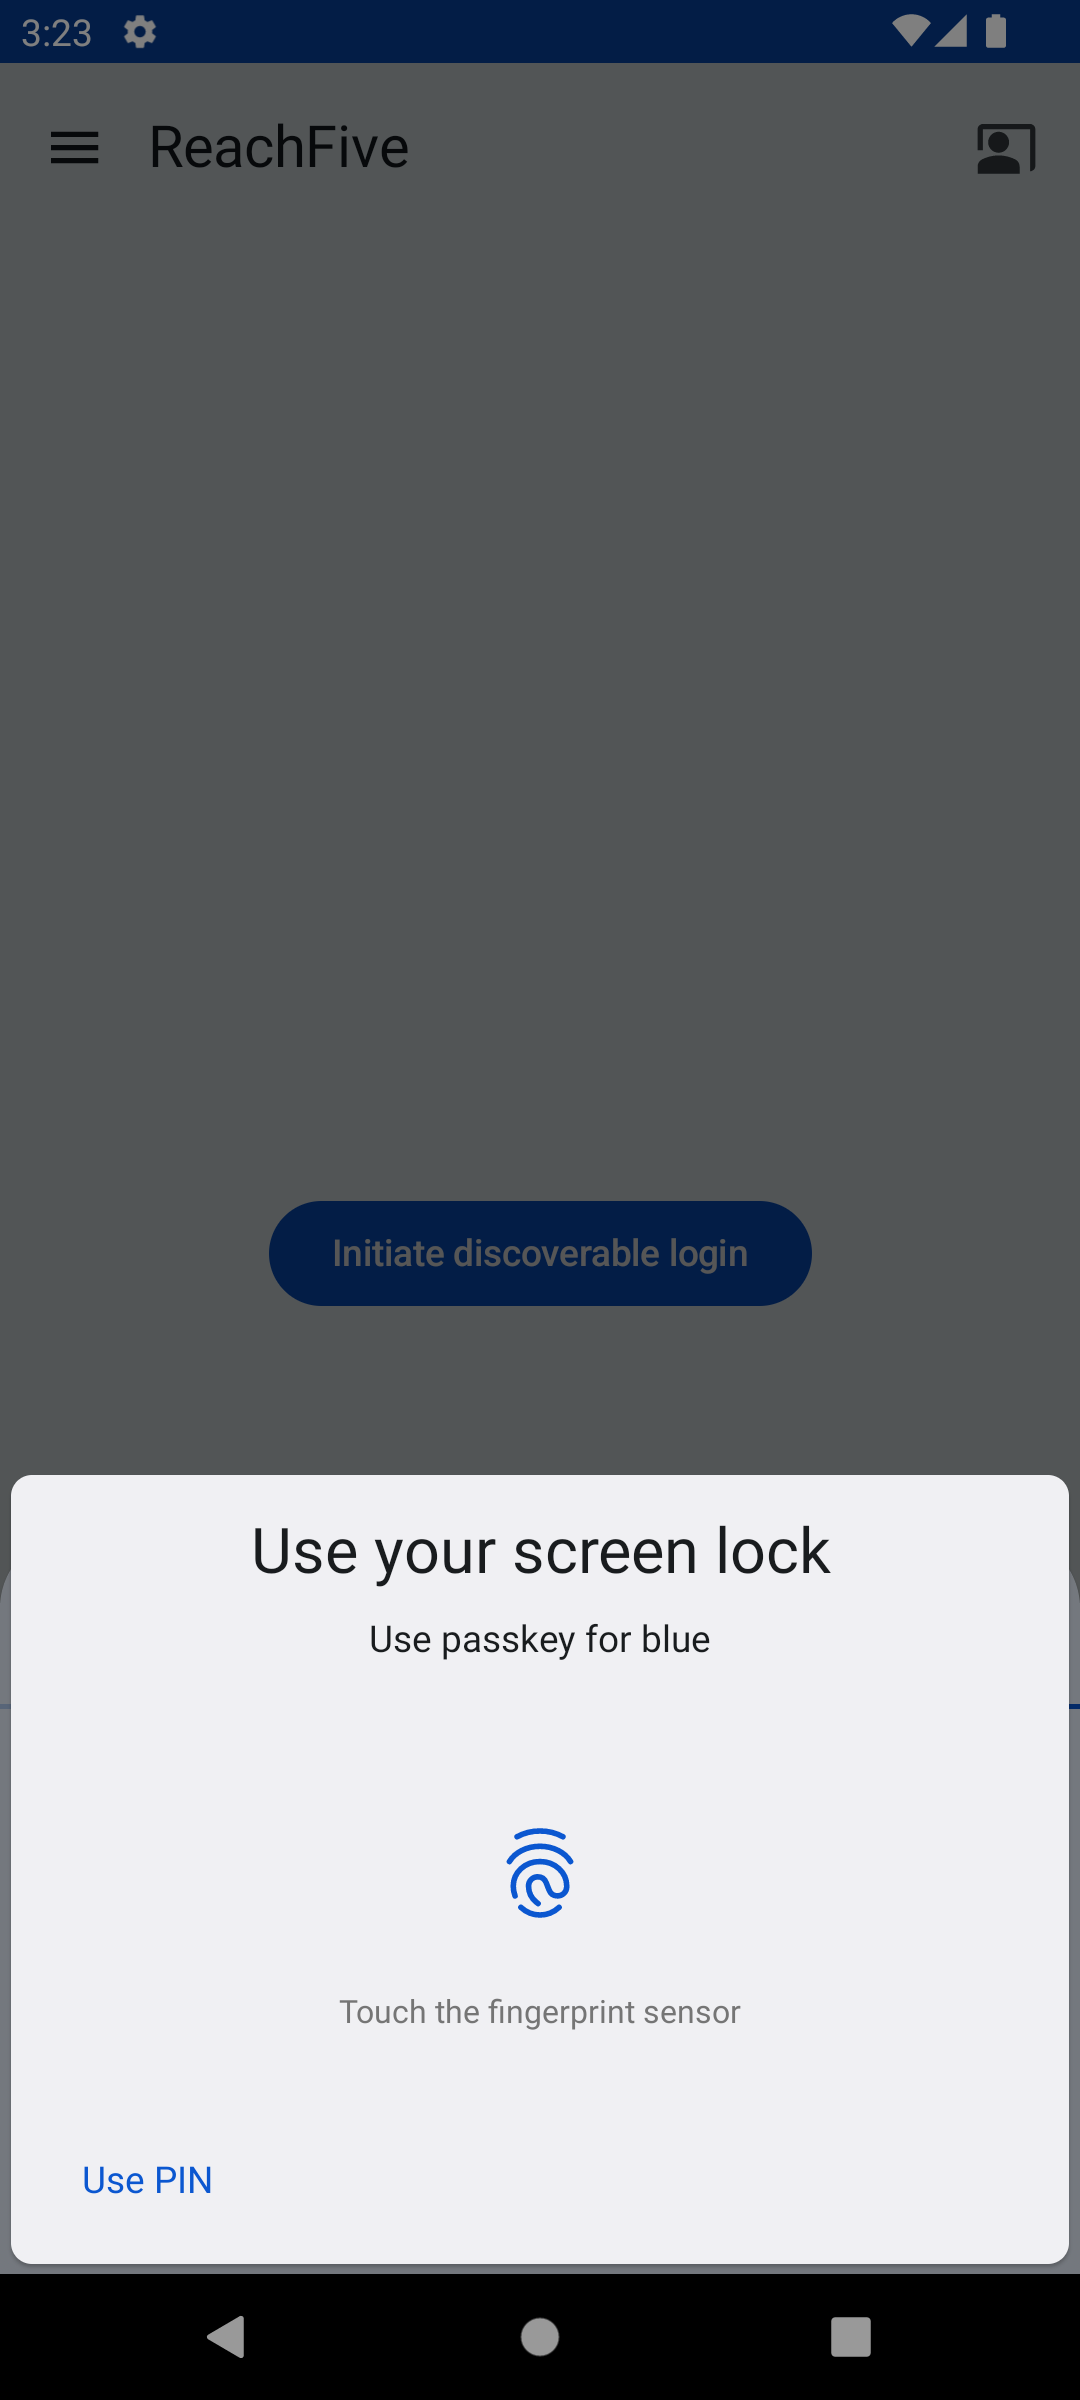
Here is a snapshot of the login view displayed to the user.
| Step 1: Discoverable | Step 1: Non-discoverable | Step 2 |
|---|---|---|
|
|
|
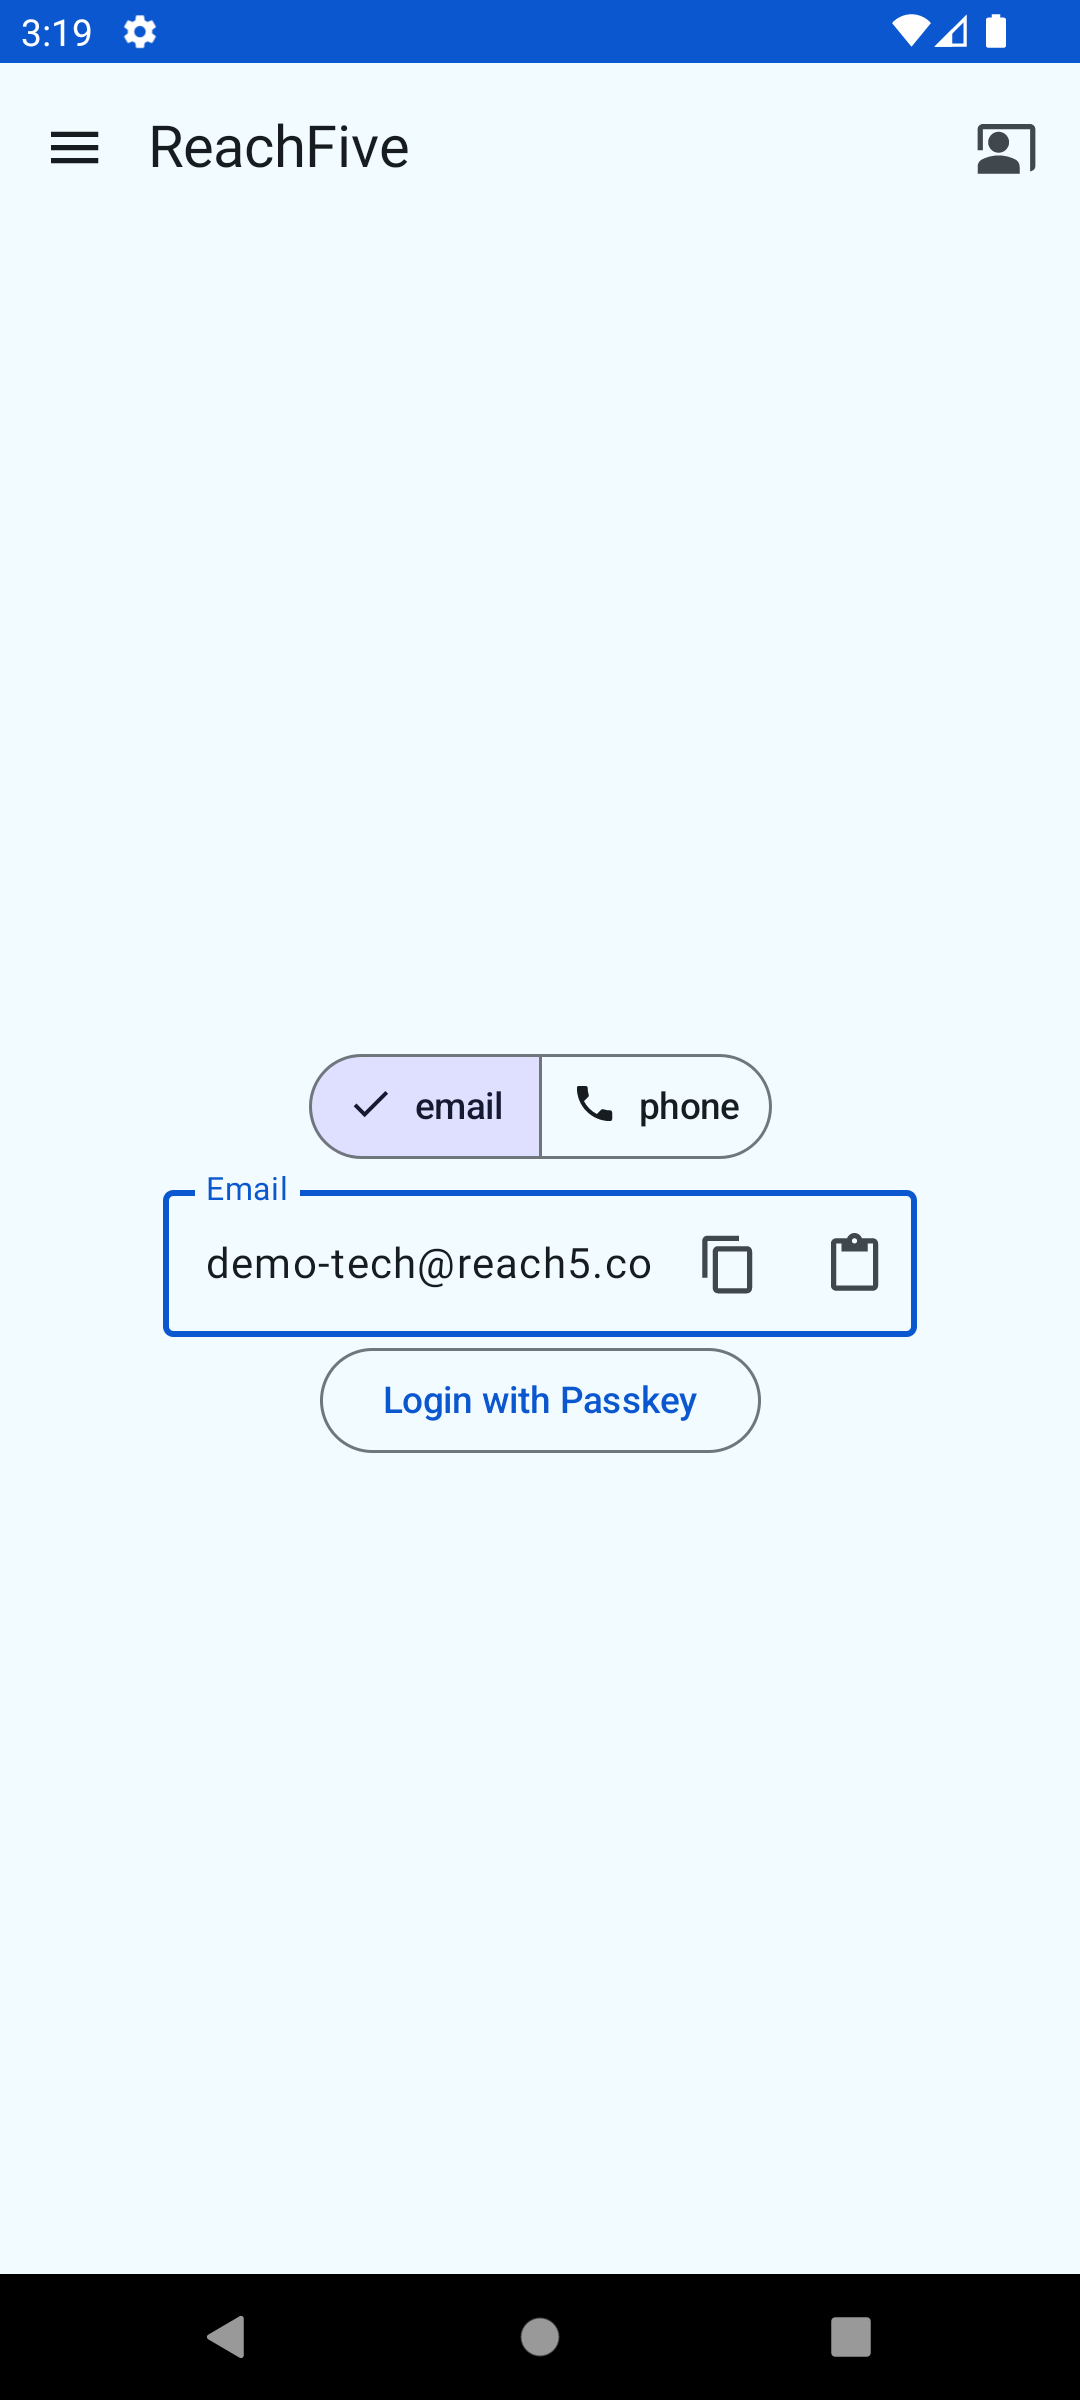
Log in with passkey
The loginWithPasskey method initiates the passkey authentication process.
client.loginWithPasskey(
    loginRequest = WebAuthnLoginRequest.EmailWebAuthnLoginRequest(
        email = "john.doe@example.com"
    ),
    origin = "passkey login from Android app",
    success = { authToken -> ... }, // Get the profile's authentication token
    failure = { error -> ... }, // Handle a ReachFive error
    activity = activity,
)
Discoverable login
The discoverableLogin method discovers a credential to log in a user. This can be via password, passkey, or both.
client.discoverableLogin(
origin = "discoverable login from Android app",
success = { authToken -> ... }, // Get the profile's authentication token
failure = { error -> ... }, // Handle a ReachFive error
activity = activity,
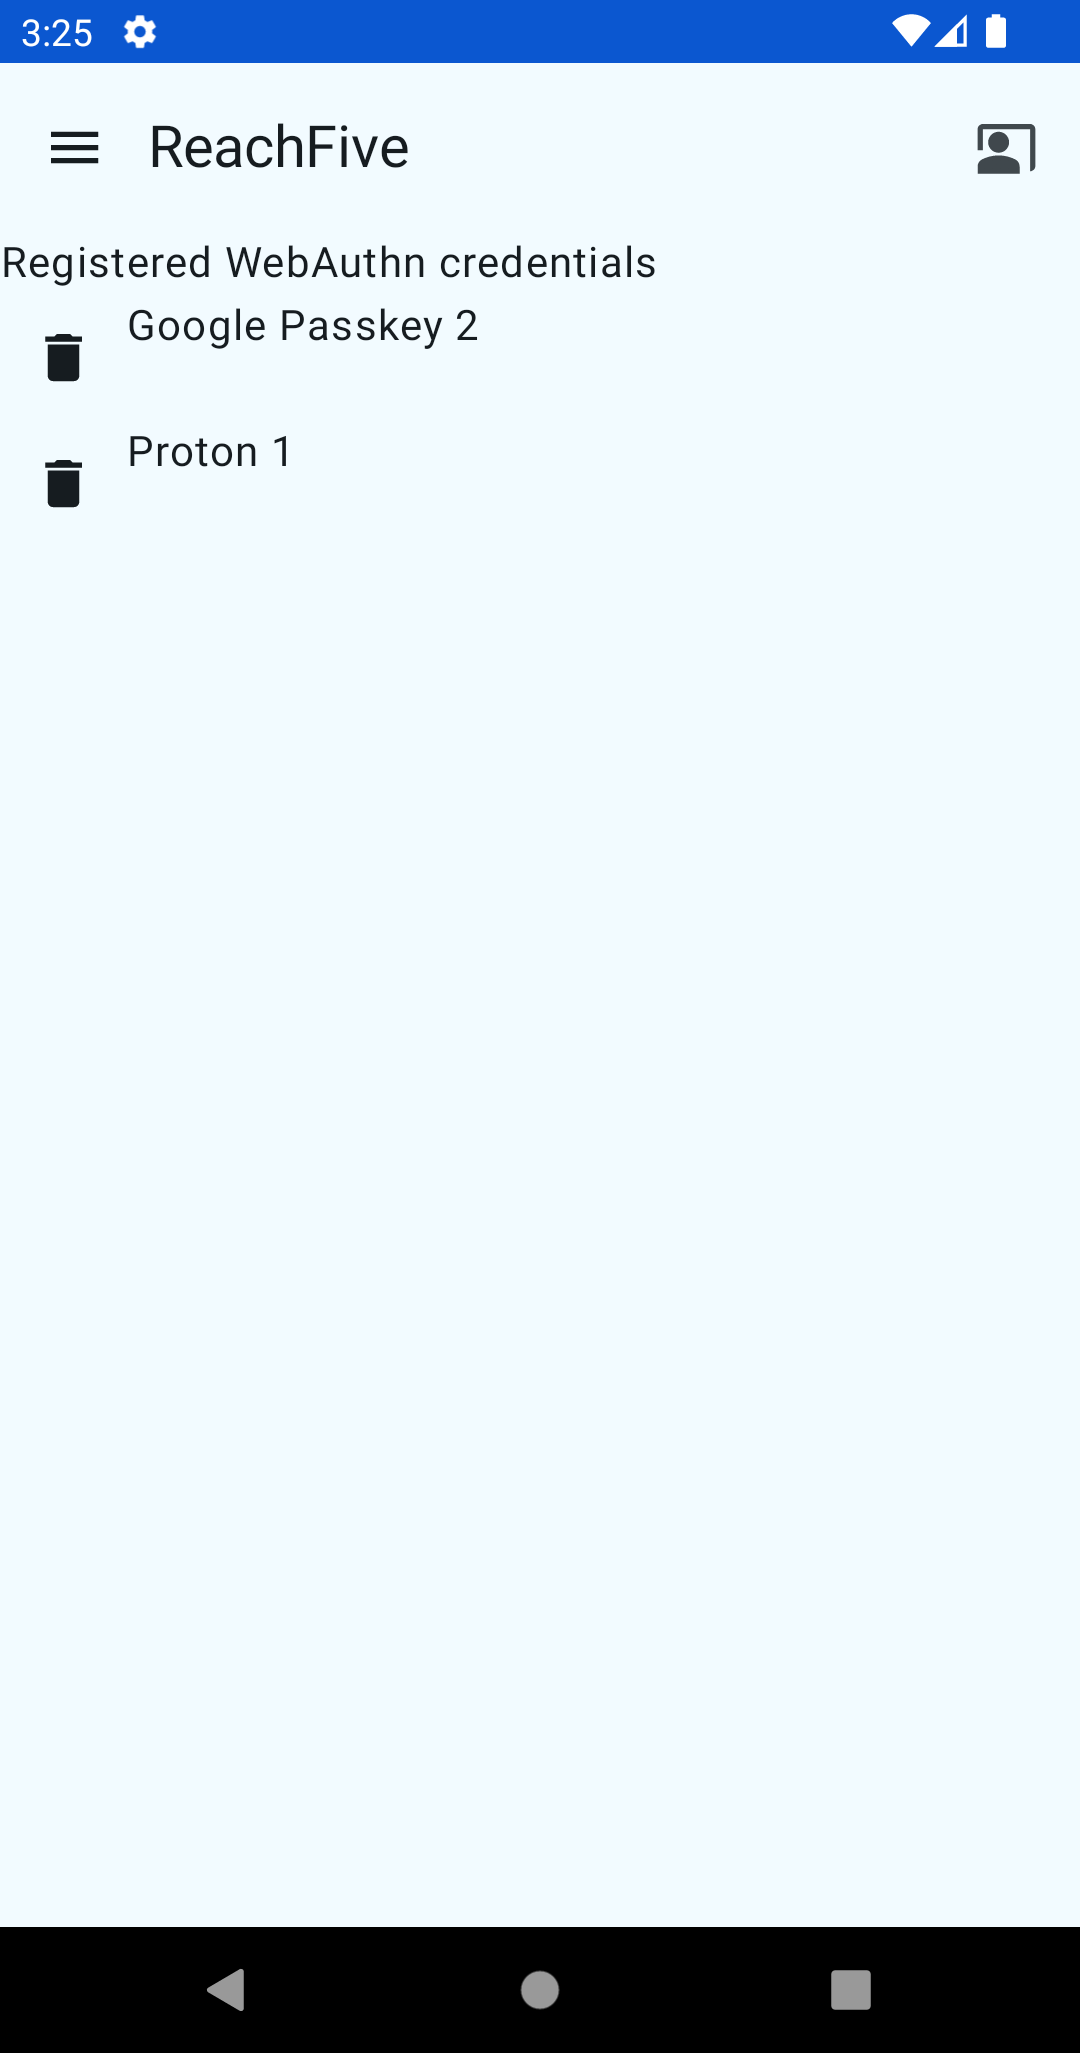
)Manage devices
Once a user is authenticated, they can register a passkey.
Here is an example of a user view for listing registered passkeys.
Register a new passkey
The registerNewPasskey method initiates the passkey registration process.
client.registerNewPasskey(
    authToken = authToken,
    friendlyName = "Google Password Manager",
    success = { ... }, // Handle success
    failure = { error -> ... }, // Handle a ReachFive error
    activity = activity,
)
List registered passkeys
The listWebAuthnDevices lists registered devices or passkeys.
import com.reach5.identity.sdk.core.models.AuthToken

val authToken: AuthToken = // The authentication token obtained following signup or login.

client.listWebAuthnDevices(
    authToken = authToken,
    success = { devices -> ... }, // Get the list of devices
    failure = { error -> ... } // Handle a ReachFive error
)
Remove registered passkeys
The removeWebAuthnDevice removes registered devices or passkeys.
import com.reach5.identity.sdk.core.models.AuthToken

val authToken: AuthToken = // The authentication token obtained following signup or login.

client.removeWebAuthnDevice(
    authToken = authToken,
    deviceId = "AcfbMjJcS7vE46R3WHOJL...",
    success = { _ -> ... }, // Do something
    failure = { error -> ... } // Handle a ReachFive error
)